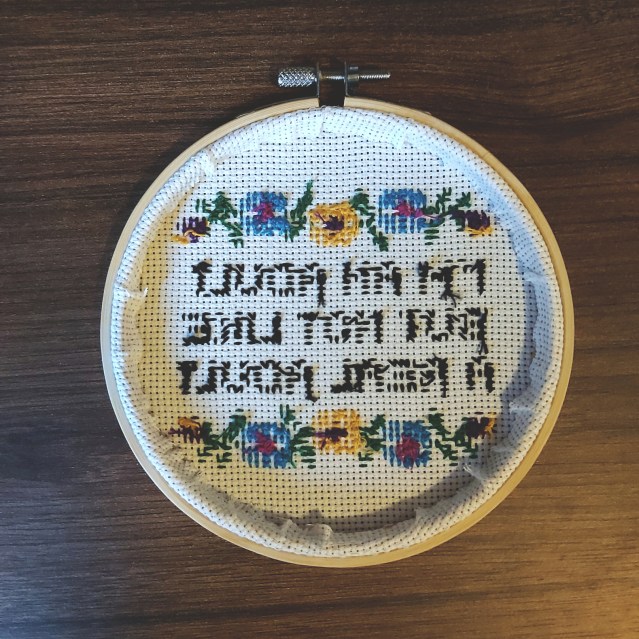
Embroidery hoops are the PERFECT way to frame your finished embroidery pieces. Not only does hoop framing look good, but it is the easiest!
I have tried multiple techniques to back an emroidery hoop. However, the method I am sharing in this post is my favorite. It’s definitely my go-to method; it’s easy, cheap, fast, AND looks great!
Material
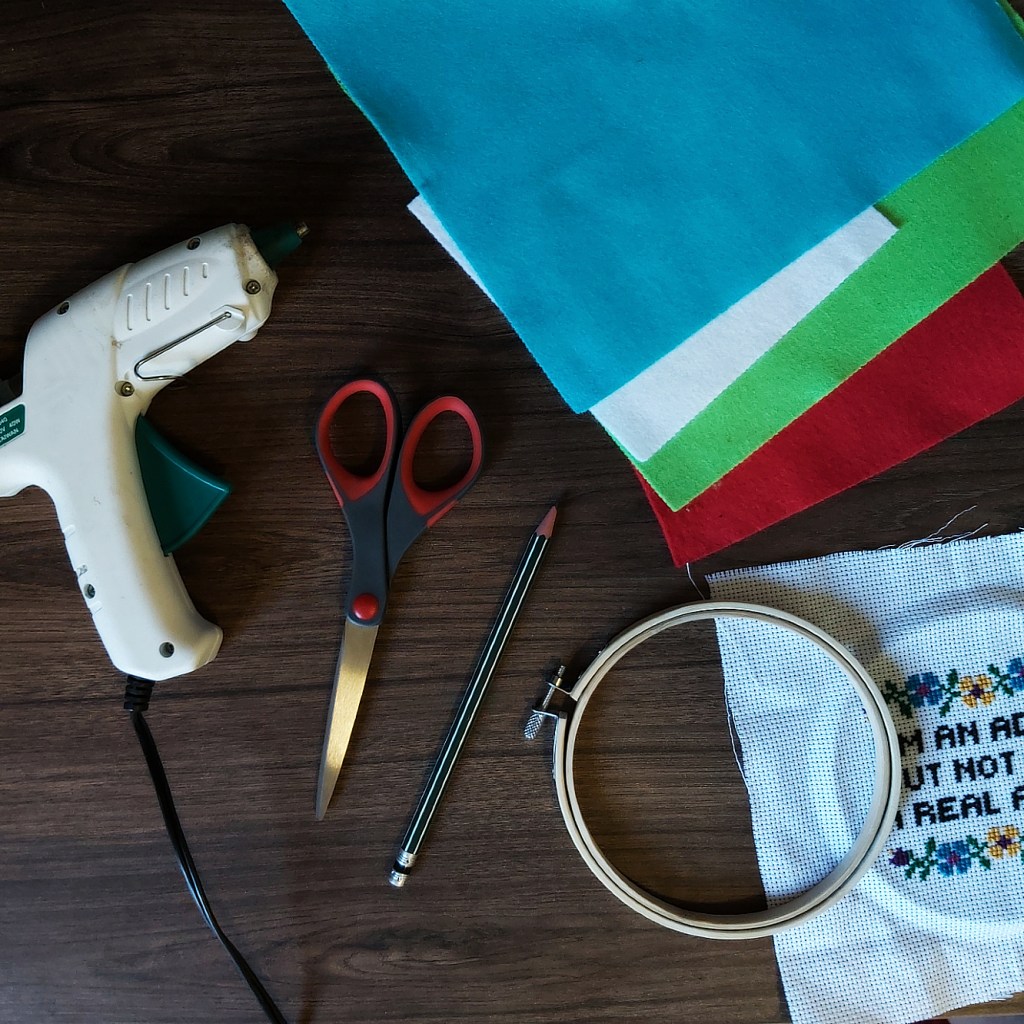
- Embroidery hoop
- Felt
- Pencil
- Scissors
- Embroidery piece to be framed
- Glue gun
How To
1. Trace the Hoop on the Felt


Separate the the two pieces of the embroidery hoop, and trace the outside of the inner hoop as a template. After you trace aroud the hoop onto the felt, cut out the felt circle. Set it aside for a later step. Make sure the color of the felt matches your embroidery piece.
2. Place the Embroidery Inside the Hoop and Trim It

Place your embroidery piece insie the hoop, making sure it is centered. Secure it in place. Using the scissors, trim around the excess fabric while leaving around 1 cm of fabric (almost equal to the height of the wooden hoop).
3. Glue the Embroidery Fabric
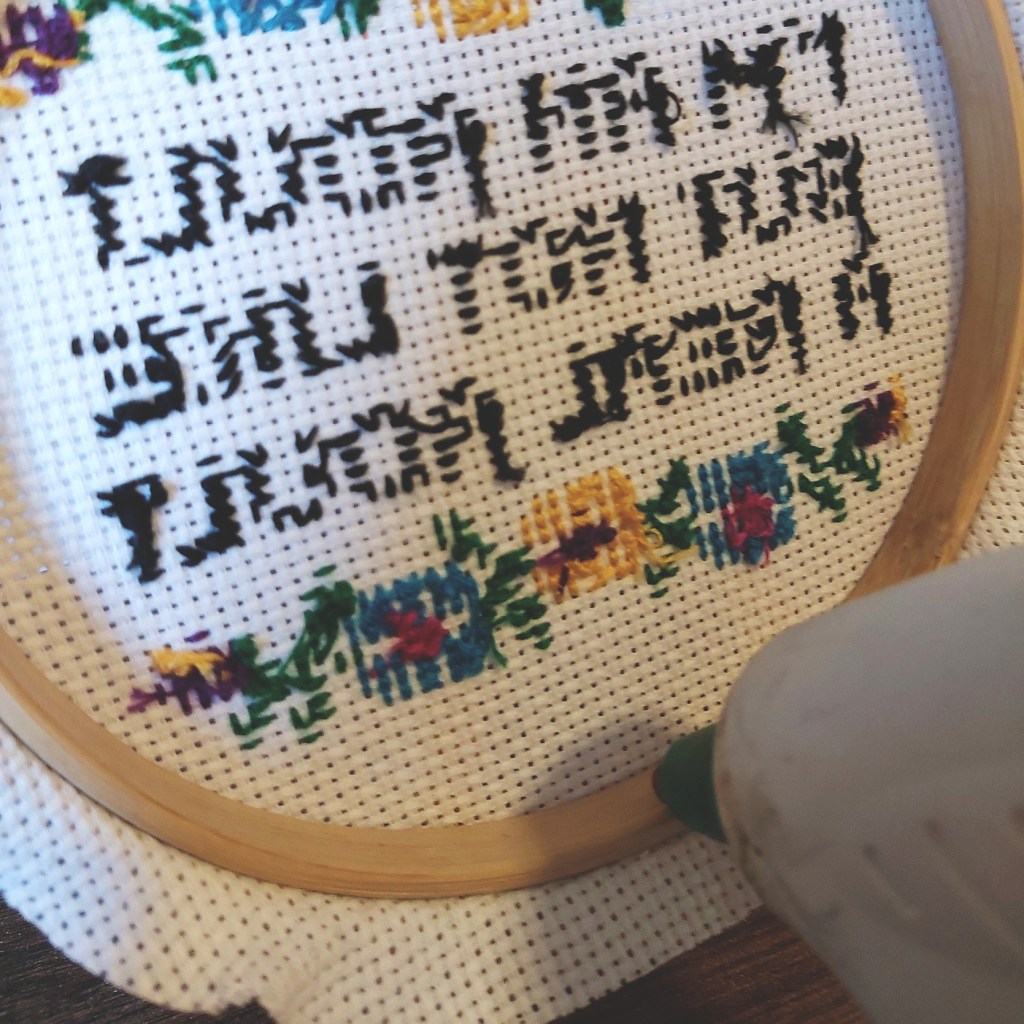

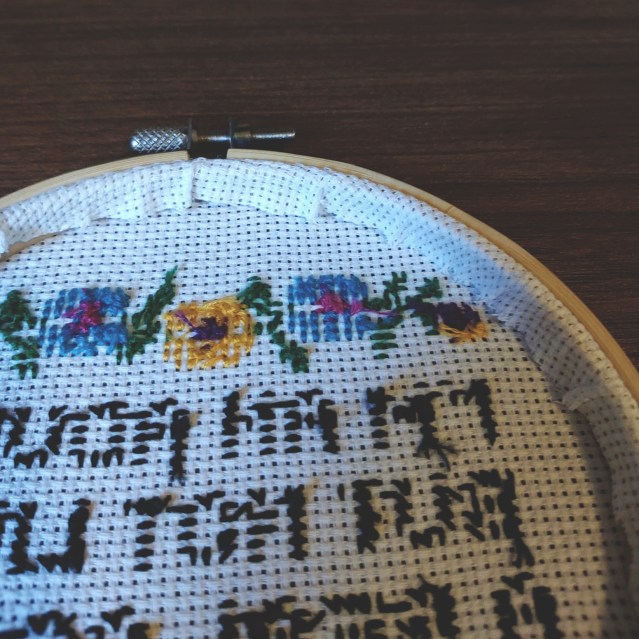
Use the glue gun to put glue on the sides of the wooden hoop, and then fold the edges of the fabric on top of the glue. Do this section by section and go around the hoop gluing the fabric so that it happens neatly and the glue does not dry off before you fold the fabric.
Some people leave it at this step and keep the back open. That works too! However, I prefer backing the hoop so that the light does not go through it if it was placed near a window or so. Also, for embroidery commissions, it’s neater to close the back and not have the stitches all exposed.
4. Place the Felt on Top and Glue It
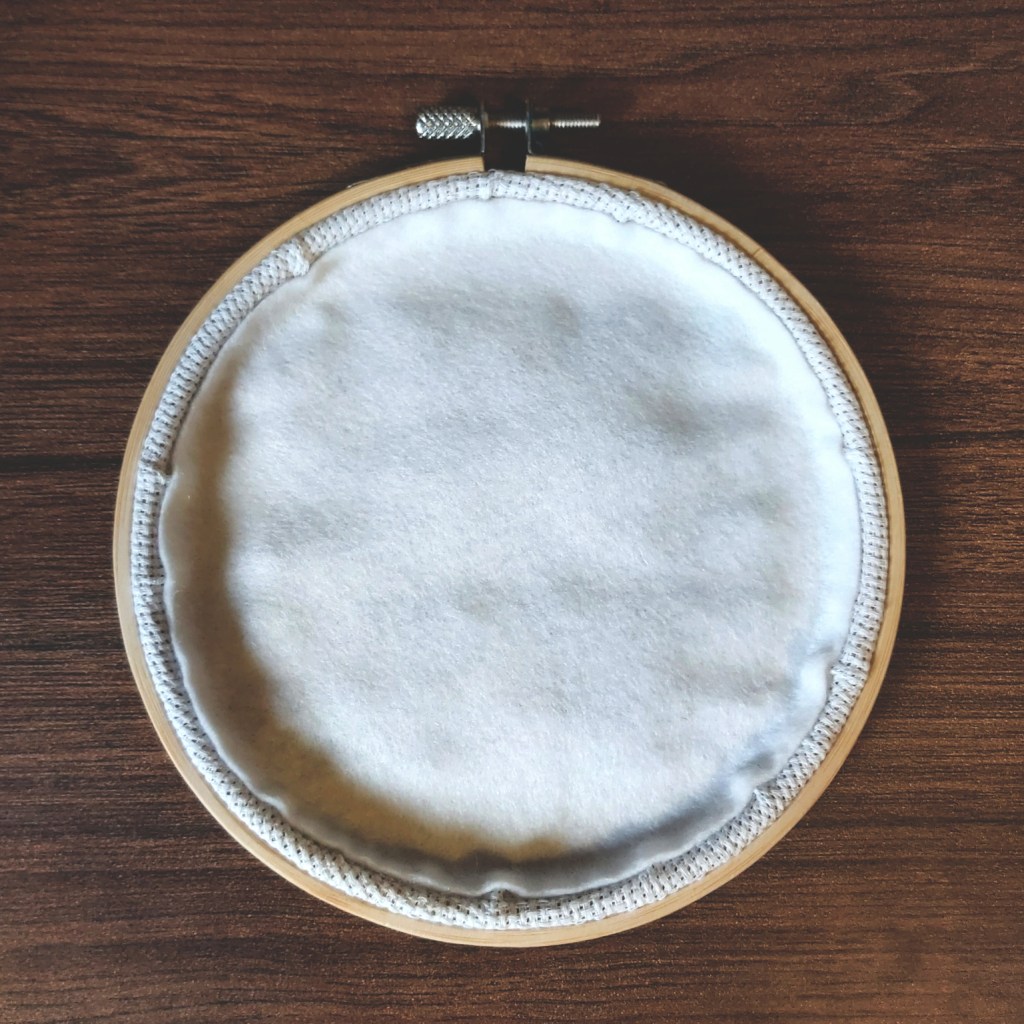
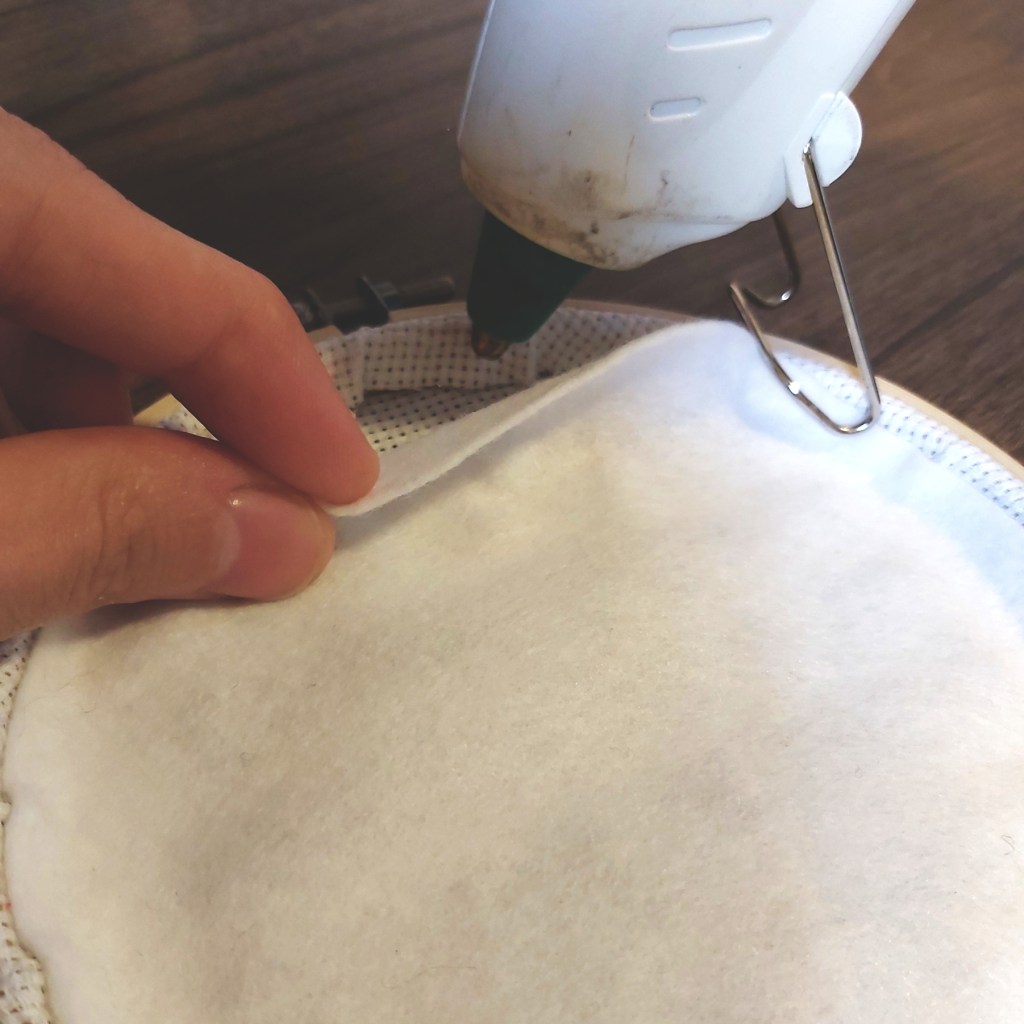
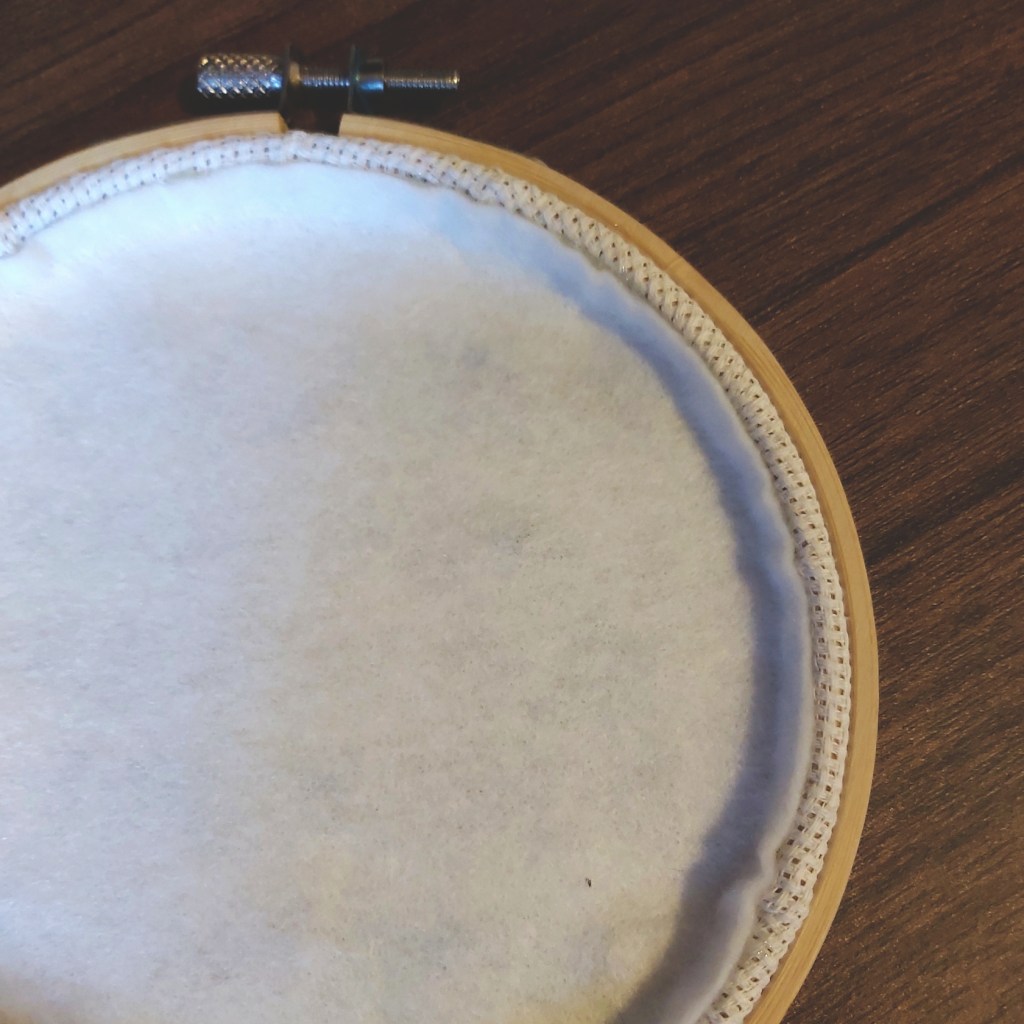
Place the piece of felt inside the hoop, making sure the sides of the felt are lined up with the sides of the inner walls of the hoop (where the edges of the fabric were glued). Use the glue gun to add glue to the sides, and then glue the edge of the felt to the edge of the hoop. Continue all around the hoop, making sure you take your time to do this and section by section so that it comes out clean and neat.
Now your embroidery is ready for displaying, gifting, or even selling!


Leave a comment