
You know what is better than a normal keychain? A customized embroidery keychain!
I just love gifting people customized gifts that are made specifically for them. Customized embroidery / cross-stitch keychains are a great item to gift because 1) can be customized and 2) they are used all the time!
Here’s how I have been creating customized embroidery keychains.
Material

- Fabric
- Embroidery Floss
- 3″ hoop (to stitch the fabric)
- 1″ hoop (keychain frame)
- Keychain
- Scissors
- Screwdriver
- Glue Gun
How To
1. Place the fabric inside the 3″ hoop and stitch your design

After you place the fabric inside the hoop, stabilize it and make sure it is stretched so that it is easy for you to work on the piece. The fabric can be Aida or cotton; depending on the design that you are creating. In the picture above I am creating a cross-stitch design.
I am already familiar with the design size and that it would fit in the 1″ hoop. If you are unsure of the size, you can always trace the 1″ hoop on the fabric before you start you work.
2. Place the 1″ hoop on top of the design and trim excess fabric

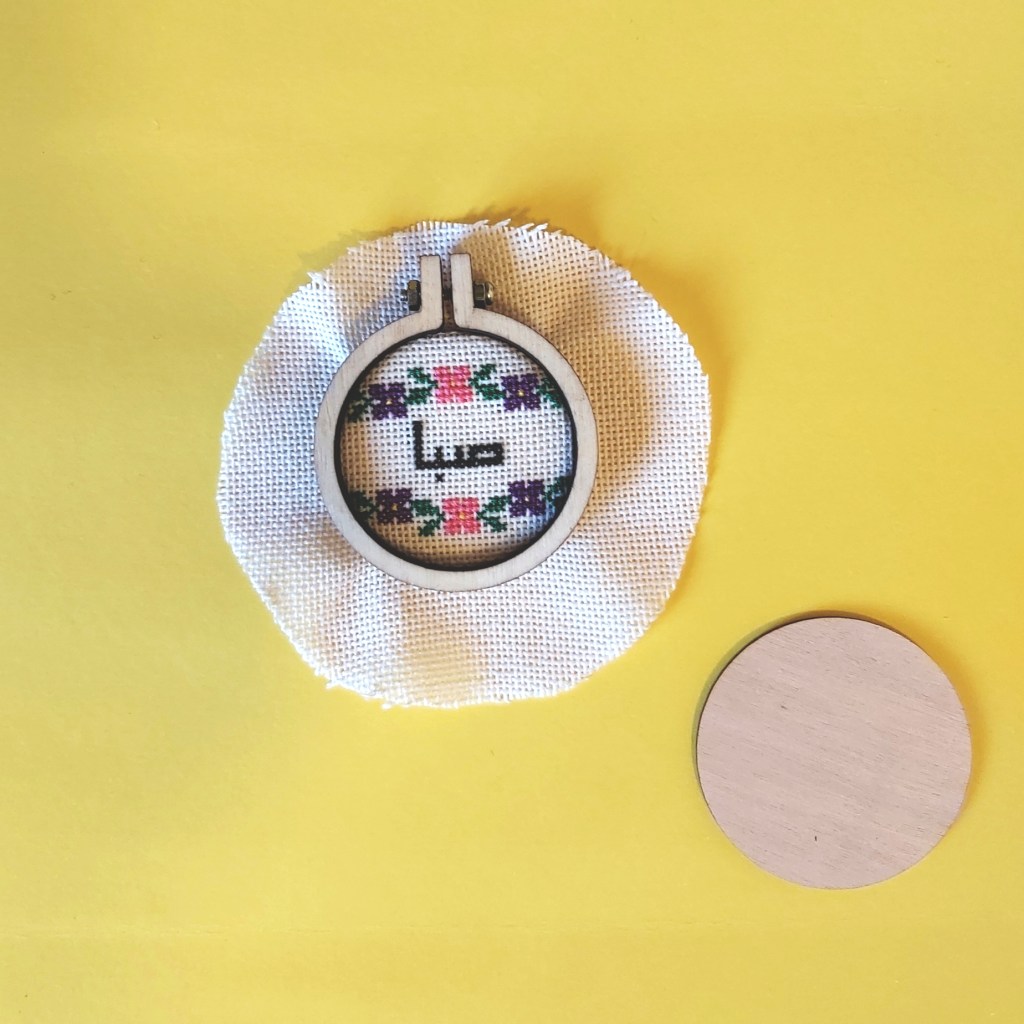
Put the smallest wooden circle below the design and center it. Then, place the 1″ hoop on top of the wooden circle + design. Center the 1″ hoop on top of the design and trim around it leaving excess fabric.
3. Glue the fabric to back
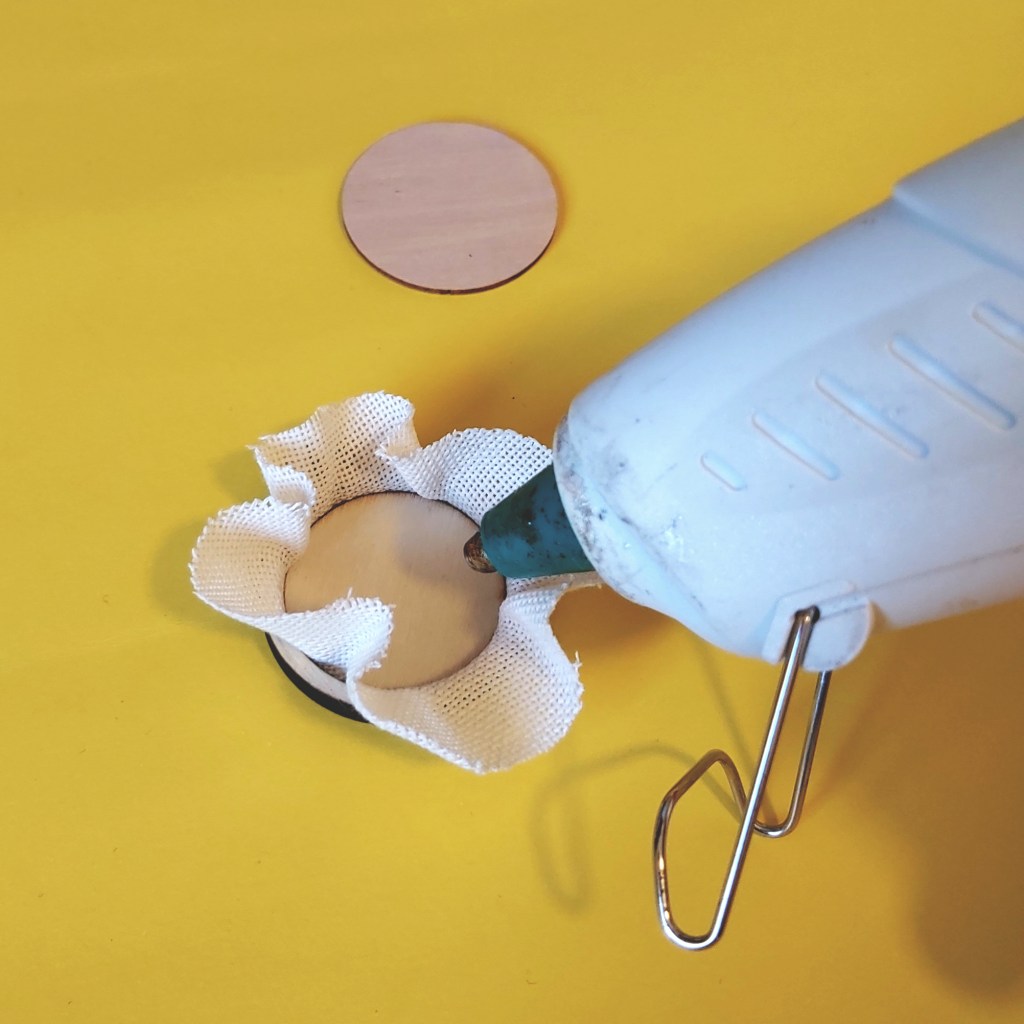

I personally use a glue gun when creating these keychains, but you can use other strong glues if you have any. Be generous with the glue and fill the entire wooden circle, then fold the fabric to the insides, making sure it is stretched.
The excess fabric left will fill the thickness of the hoop. If you don’t leave excess fabric, the final design will not be fully on the surface and will be pushed back – which is an option you might prefer.
4. Glue the back of the 1″ hoop
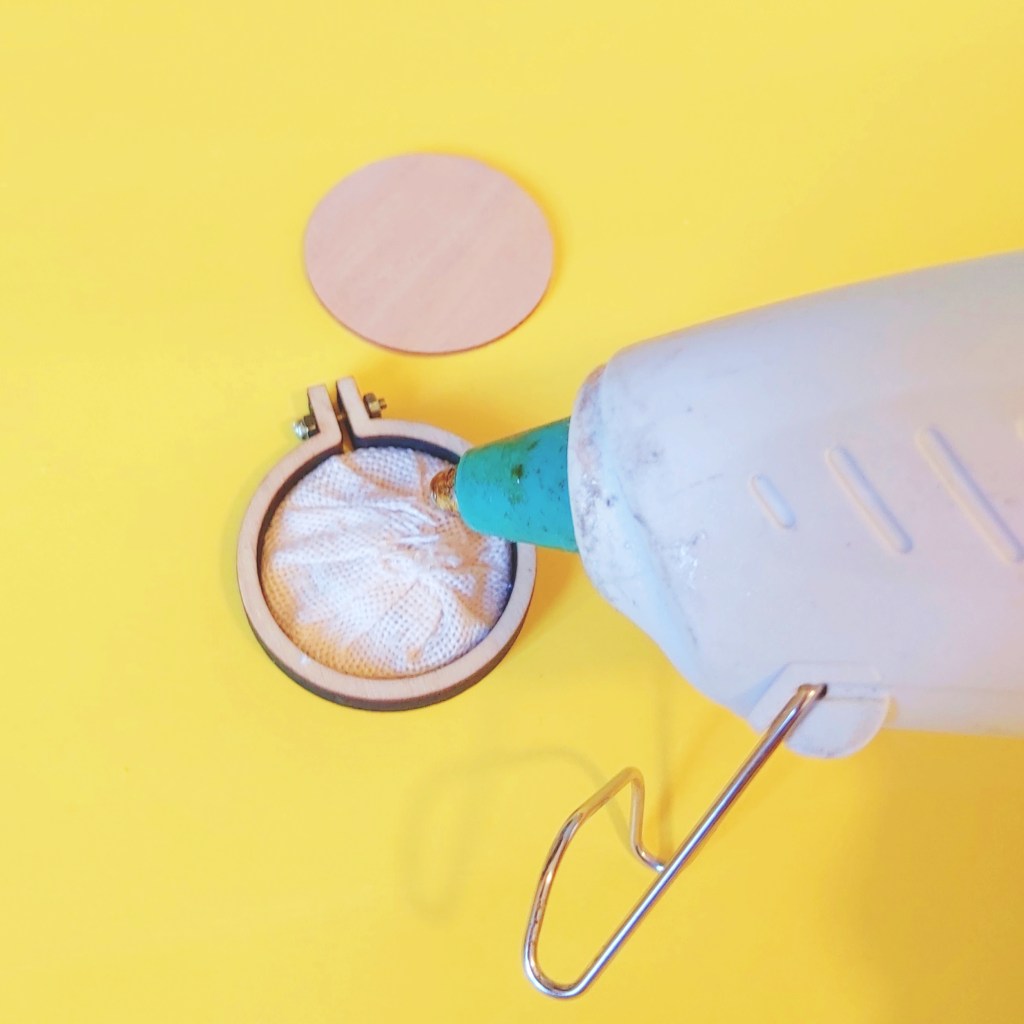
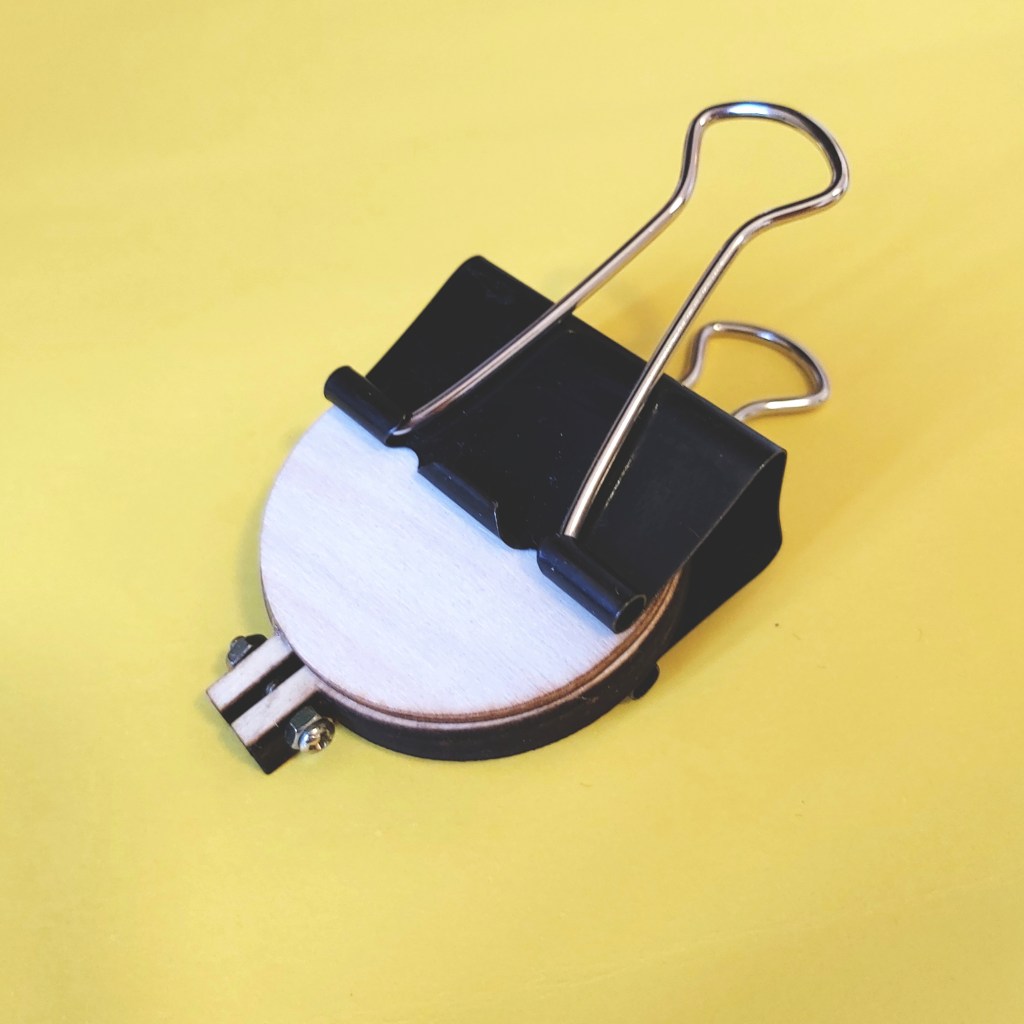
Make sure the wooden back is glued exactly on top of the 1″ hoop and the edges are aligned. Add a paper clip to hold it together until it dries off.
5. Add a keychain


Use a screwdriver to remove the screw on top. Add the keychain and then screw it back tightly.
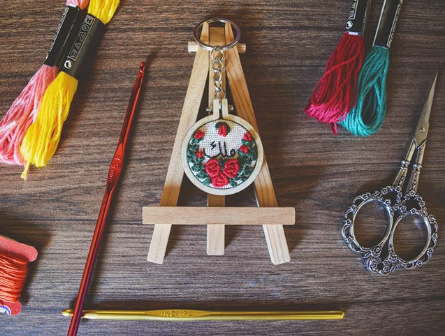
There you have it! A customized keychain ready to be gifted or even sold! The above keychain is actually a commissioned piece that I worked on.
Here are some of my previous keychains for inspiration:


Leave a comment