
“It all started with a mouse”
Mickey Mouse will forever be one of my favorite cartoon characters. The story behind Mickey and Disney is magical and why I continiously crochet Disney inspired items every now and then.
Material
- Lightweight yarn in red and black
- 4 mm crochet hook
- White buttons
- Tapestry needle
- Scissors
- Sewing thread
- Sewing needle
Stitched Used | Abbreviations
- Slip knot
- Chain (ch)
- Slip stitch (sl st)
- Single crochet (sc)
- Half double crochet (hdc)
- Half double crochet increase (hdc inc) – 2 stitches in the same stitch
- Back Loops Only (BLO)
- * * – repeat sequence
Notes
- Ch1 and turn at the start of each row
- The ch1 at the beginning of each row does not count as a stitch
- The number at the end of each row in () indicates the number of total stitches.
Pattern
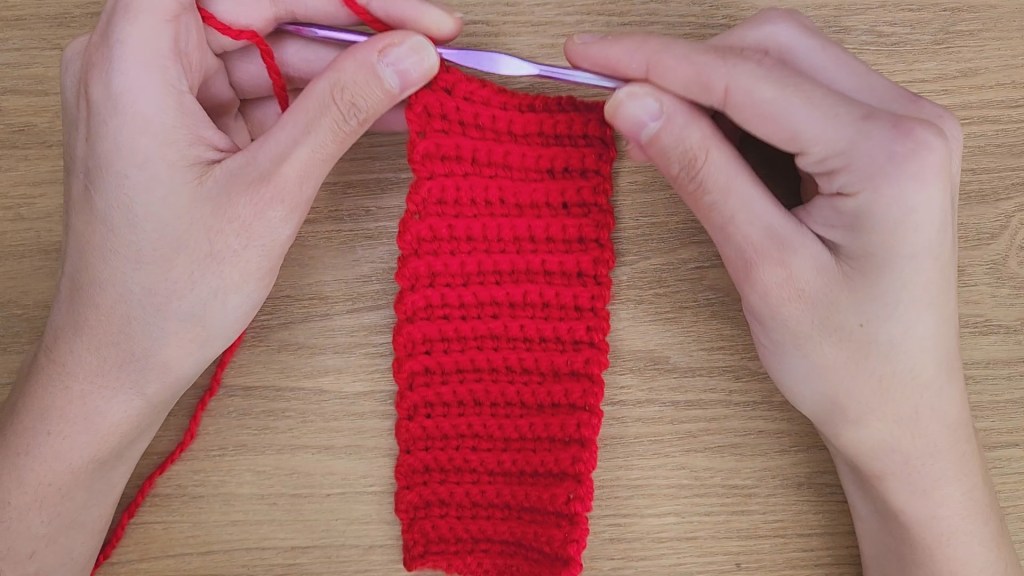
Start off with the ribbing part of the glove
- Cuffs / Ribbing
Using the red color
Row 1: sl knot, ch13, *sc* across (12)
Row 2-28: *sc* across BLO (12)
The ribbing is meant to cover the circumference around your wrist. If you wish to make the ribbing smaller/bigger around your wrists, remove/add rows.
Fold the ribbing in half, align the two edges, ch1, and sl st the two ends together to close the cuffs (12)
Remove your hook, but do not finish off. Turn the glove inside out so that the sl stitches that you did to close the ribbing are no longer showing. The outside of the glove is the side that does not have stitches showing.
Insert your hook back into the loop to start with the second part.

- Glove Section
Round 1: *sc* all around the circumference of the ribbing (28), change color to black at the last sc and sl st to the first stitch to close the round.
Ch1 and turn your work so that for Round 2, you will be crocheting counter-clock wise. (optional)

As you crochet in the round, the part were you slip stitch will end up creating a column. If you continue to crochet in the round without changing direction, this column will be skewed. Whether you change direction or not, it is up to you.
Round 2 (counter clock-wise): *6hdc, hdc inc* all around (32)
Round 3-9: *hdc* all around (32) – At the end of each round, you will sl st, ch1, and turn your work around to change direction
Round 10: 13hdc, ch3, skip 6, 13hdc (29)

Round 11: 13hdc, 3hdc in the ch3 space, 13hdc (19)
You can try on the glove as you work to test the size of the thumb space.

Round 12-16: *hdc* all around (19)
Cut the yarn and finish off.
- Buttons
Using a sewing needle and white thread, sew your bottons onto the “Mickey’s shorts” / red section of the glove. Make sure the gloves are in the right direction. Aka you are working on the sides in which the thumbs are on the left and one on the right.
Aaaaand you’re done!!

If you enjoyed this pattern, let me know in the comments below, and make sure to share your creations on Instagram @MoreThanKnots.
A tutorial is also available on my YouTube channel!

Leave a comment