
Ramadan is the month of blessings, forgiveness, … and crocheting Ramadan inspired pieces!
Okay, I may have made up that third out to fit my own Ramadan spirit, but still! To be fair, this beginner-friendly lantern garland can work as a decoration for so many other occastions, so let’s get started!
Material
- Cotton light yarn
- 3 mm crochet hook
- Scissors
- Needle
Stitches Used | Abbreviations
- Magic Ring (MR)
- Chain (ch)
- Slip stitch (sl st)
- Single crochet (sc)
- Half double crochet (hdc)
- Double crochet (dc)
- Increase (inc) – 2 st in 1 st
- * * – repeat sequence
Notes
- The different yarn colors will be named as Color A (used for the center part of the lanter) and Color B (used for the lantern base, top part, and outline)
- The ch1 or ch2 at the beginning of a round/row do not count as a stitch; unless stated otherwise.
- The number at the end of each round/row indicates the total number of stitches for that round/row.
Pattern
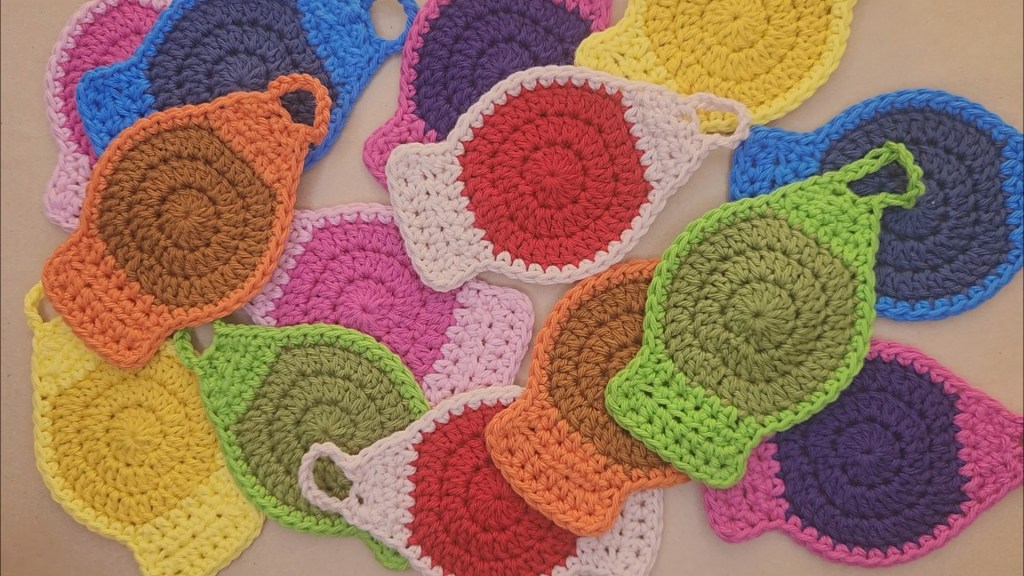
- Lantern
Using Color A
Round 1: MR, ch1, 12dc in MR (12)
Round 2: ch2, *dc inc* all around (24)
Round 3: ch2, *dc, dc inc* all around (36)
Cut the yarn, finish off, and weave in your ends.
Insert your hook into any stitch to start with the base of the lantern and pull your new yarn (Color B)
Row 1.1: ch1, 6hdc across (6), ch1 and turn your work around
Row 2.1: *hdc* across (6), ch1 and turn
Row 3.1: hdc inc, 4hdc across, hdc inc (8)
Cut the yarn, finish off, and weave in your ends
Count 12 stitches away from the base, insert your hook in the 13th st, and pull the Color B yarn through
Row 1.2: ch1, 6hdc across (6), ch1 and turn your work around
Row 2.2: skip a st, 3hdc across, skip a st, hdc (4), ch1 and turn
Row 3.2: skip a st, hdc, skip a st, hdc (2)
Outline: ch1, 3sc across the rows of the top part of the lantern, 12sc around the circular base, 2sc across the rows of the base part of the lantern 3sc in the same corner st, 6sc acorss the base, 3sc in the 2nd corner st, 2sc across the rows of the base, 12sc around the circular part, 2sc across the rows of the top part, 2sc into the corner st, ch10 for the handle, and sc in the last st. Sl st to the first sc to close the outline.
Cut the yarn, finish off, and weave in your ends.
- Garland + Assembly
Sl knot, ch20 (which will be the starting length of the garland; add more chains if you want it longer), insert your hook in the lantern and sl st, *ch20, insert your hook in the lantern handle and sl st*, repeat until all the lanterns are attached, and then ch20 (which will be the end of the garland).
Aaaaand you’re done!
If you enjoyed this pattern, let me know in the comments below, and make sure to share your creations on Instagram @MoreThanKnots and on TikTok @365DaysofDana.
A tutorial is also available on my YouTube channel!
