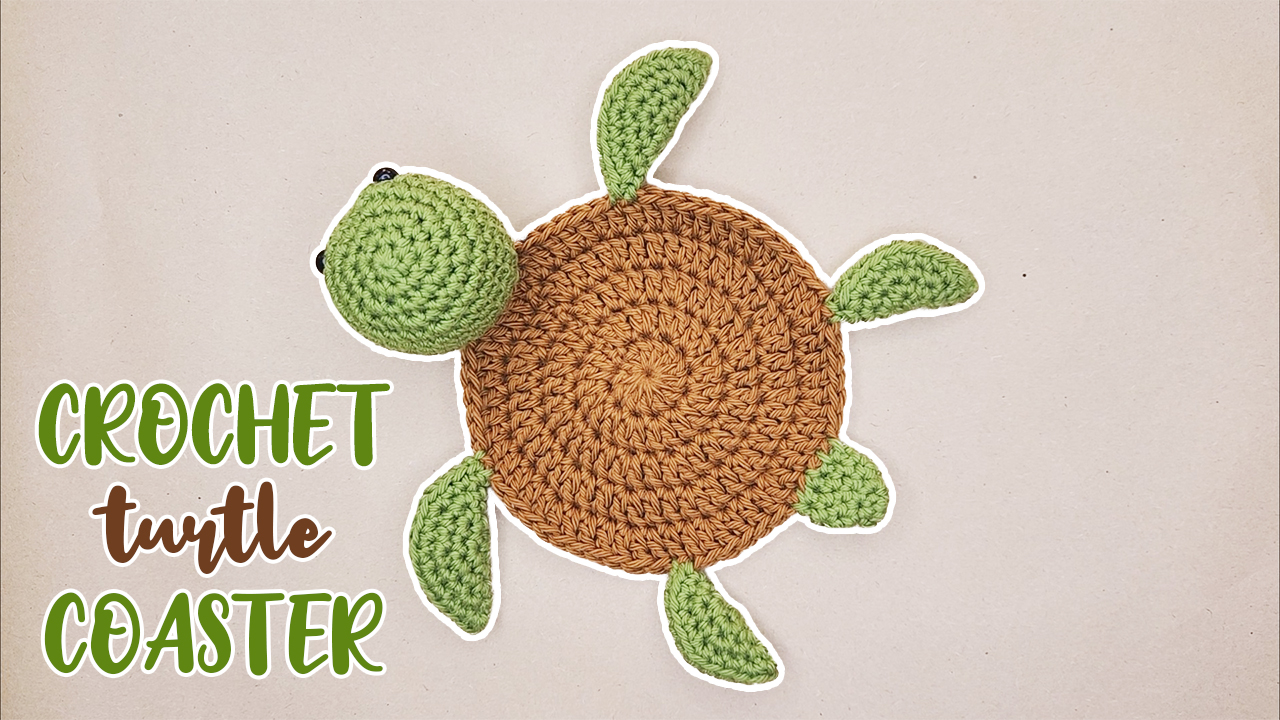
This coaster is turtley cute!
If you are looking for a coaster that is cute but also beginner friendly, you have come to the right place! Don’t let the “amigurumi” part of the coaster scare you, because the stitches are pretty simple.
This coaster would look great on your desk and even makes an adorable gift!
Material
- Cotton light yarn in brown and green
- 3 mm hook
- Toy stuffing
- 8 mm safety eyes
- Scissors
- Needle
Stitches Used | Abbreviations
- Magic Ring (MR)
- Chain (ch)
- Slip stitch (sl st)
- Single crochet (sc)
- Double crochet (dc)
- Increase (inc) – 2st in 1st
- Decrease (dec) – 1st in 2st
- * * – repeat sequence
Notes
- The head, hands, and tail are worked in continuous rounds. Aka when you reach the end of the round, you directly move on to the next round without slip stitching.
- The number at the end of each round indicates the total number of stitches for that round.
Pattern
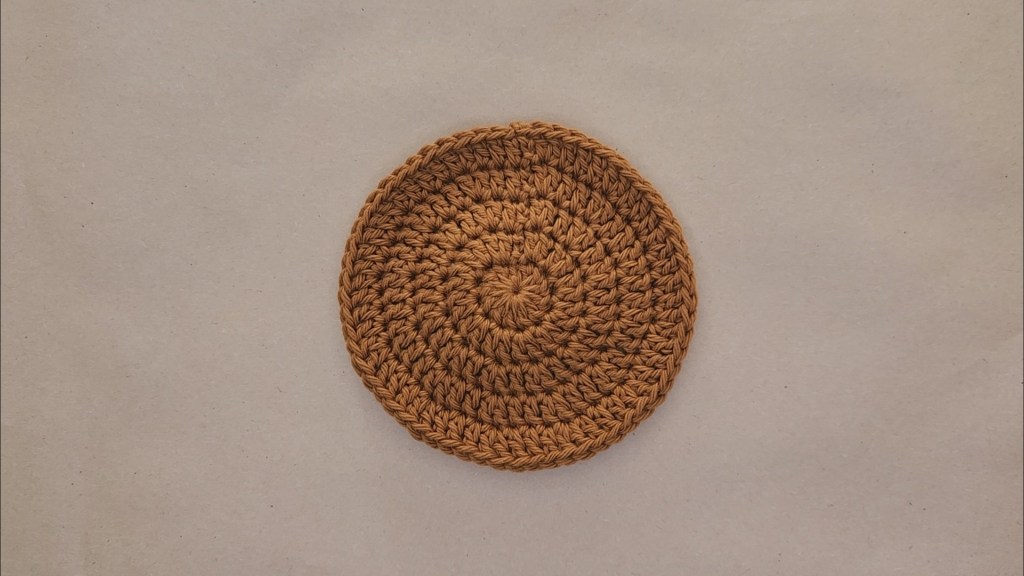
- Body/Coaster
Using the brown yarn
Round 1: MR, ch1, 12dc in MR (12), sl st
Round 2: ch2, *dc inc* all around (24)
Round 3: ch2, *dc, dc inc* all around (36)
Round 4: ch2, *2dc, dc inc* all around (48)
Round 5: ch2, *3dc, inc* all around (60)
Cut the yarn and finish off
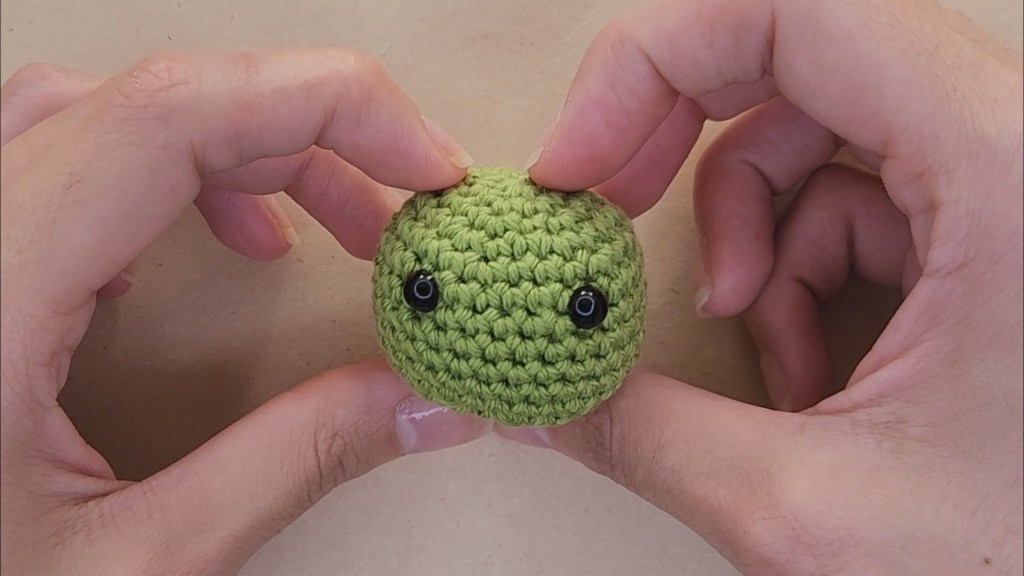
- Head
Using the green yarn
Round 1: MR, 6sc in MR (6)
Round 2: *inc* all around (12)
Round 3: *sc, inc* all around (18)
Round 4: sc, inc, [2sc, inc]x5, sc (24)
Round 5: *3sc, inc* all around (30)
Round 6-10: *sc* all around (30)
Add safety eyes between Row 6 and 7. The eyes are 5 stitches apart.
Round 11: *3sc, dec* all around (24)
Round 12: sc, dec, [2sc, dec]x5, sc (18)
Round 13: *sc, dec* all around (12)
Add stuffing
Round 14: *dec* all around (6)
Add additional stuffing before stitching the bottom to close it.
Leave a long tail.
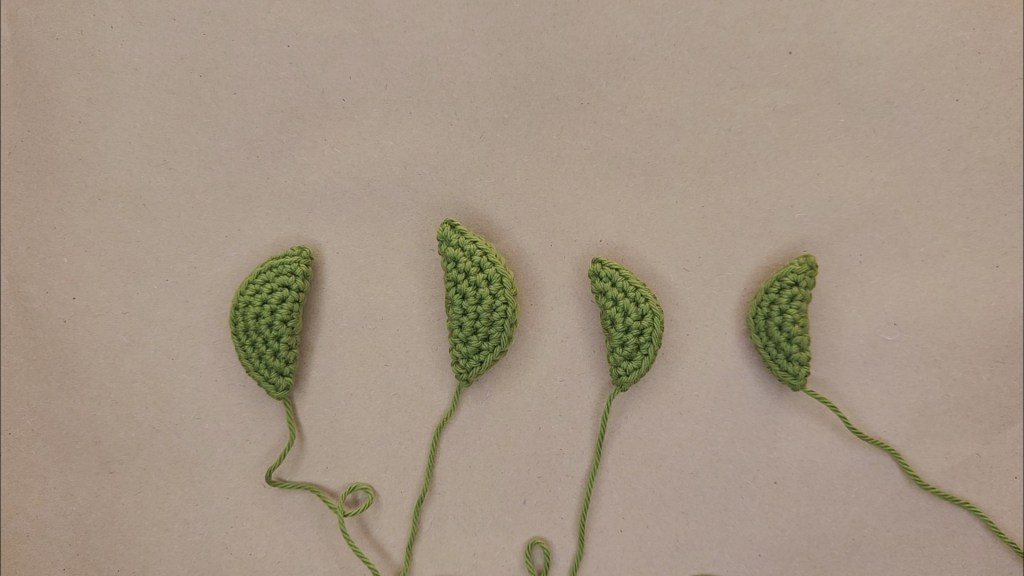
- Arms x2
Using the green yarn
Round 1: MR, 6sc in MR (6)
Round 2: *inc* all around (12)
Round 3: *sc, inc* all around (18)
Round 4: sc, inc, [2sc, inc]x5, sc (24)
Round 5: *3sc, inc* all around (30)
Finish off and leave a long tail.
Fold the circle in half and stitch it sideways to close it. Stitch by going from the back loop of one side to the gront loop of the other side. Add a bit of stuffing before closing it completely.
- Legs x2
Using the green yarn
Round 1: MR, 6sc in MR (6)
Round 2: *inc* all around (12)
Round 3: *sc, inc* all around (18)
Round 4: sc, inc, [2sc, inc]x5, sc (24)
Finish off and leave a long tail.
Fold the circle in half and stitch it sideways to close it. Stitch by going from the back loop of one side to the gront loop of the other side. Add a bit of stuffing before closing it completely.
- Tail
Round 1: MR, 5sc in MR (5)
Round 2: *sc* all around (5)
Round 3: *inc* all around (10)
Round 4-5: *sc* all around (10)
Finish off and leave a long tail.
- Assembly
Using the needle and the tail of your yarn, stitch the tail and the head facing each other. Stitch the arms 5 stitches away from the head, and the legs 11 stitches away from the arms. Stitch the arms and legs to the coaster in a corner.

Aaaaaand you’re done!

If you enjoyed this pattern, let me know in the comments below, and make sure to share your creations on Instagram @MoreThanKnots and on TikTok @365DaysofDana.
A tutorial is also available on my YouTube channel!

I’m just asking and I could very well just be missing it but I don’t know how to make the tail for the turtle because I cant find that section of the pattern
LikeLike
Hello Taylor! Thank you for letting me know! I updated the pattern. 🙂
LikeLike
This is So cute!
LikeLike
Thank you so much for the free pattern! It’s so cute and easy to follow. Have a good one!
Ps. I think in the body section at the end of round 2 there’s 24 st instead of 12😁
LikeLike
Thank you so much for the feedback! And yes you are right about the 24! Fixed! 😁😁
LikeLike
What is the name of the super fine cotton yarn that you use? Or suggestions for brands of yarn to make. Thanks in advance!
LikeLike
For this coaster, I used a local Chilean brand called Revesderecho. However, any other brand works the same! 😊😊
LikeLike
How big is the head supposed to be?
LikeLike
can I end the coaster section at 48 stitches instead of 60? I have bigger yarn so 48 stitches is plenty big for a cup, but not sure if it will mess up the rest of the design
LikeLike
Am I allowed to sell this online?
LikeLike
Yes! Feel free to sell the finished coasters! 🙂 The pattern itself should not be sold. Please do not redistribute, sell, or claim this pattern as your own.
LikeLike
how do you stop the coaster part from going wavy?
LikeLike
You can block it. Blocking helps shape your crochet items to achieve a more finished look.
LikeLike