
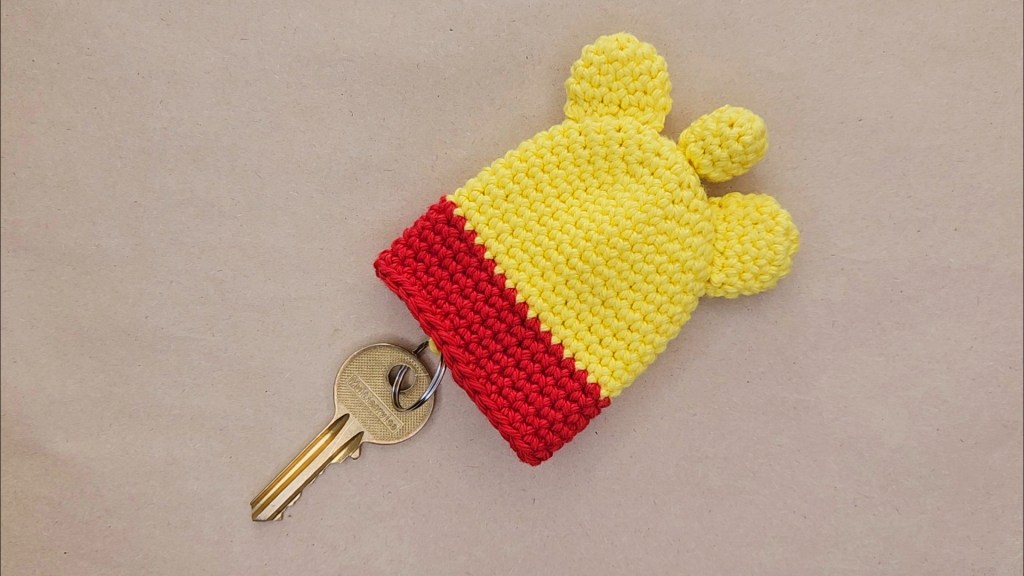
If you are looking to make the cutest key cover out there, you are in the right place!
Winnie the Pooh is such a lovable character that I can not resist making a key cover inspired by him. So here goes…
This pattern is great for beginners (I know I almost always say that, but it’s true!)
Material
- Super fine cotton yarn
- 3 mm crochet hook
- Needle
- Scissors
- Keychain
- Toy stuffing
Stitches Used | Abbreviations
- Magic ring (MR)
- Chain (ch)
- Single crochet (sc)
- Increase (inc) – 2sc in 1 st
- Decrease (dec) – 1sc in 2st
- * * – repeat sequence
Notes
- The pattern is done in continuous rounds. Aka when moving from one round to the second, you work in the following round without joining them with a slip stitch.
- The number at the end of each row in () indicates the number of total stitches.
Pattern
- Cover Base
Round 1: MR, 6sc in MR (6)
Round 2: *inc* all around (12)
Round 3: *sc, inc* all around (18)
Round 4: *2sc, inc* all around (24)
Round 5: *3sc, inc* all around (30)
Round 6-15: *sc* all around (30)
Change color to red
Round 16-21: *sc* all around (30)
Cut the yarn and finish off

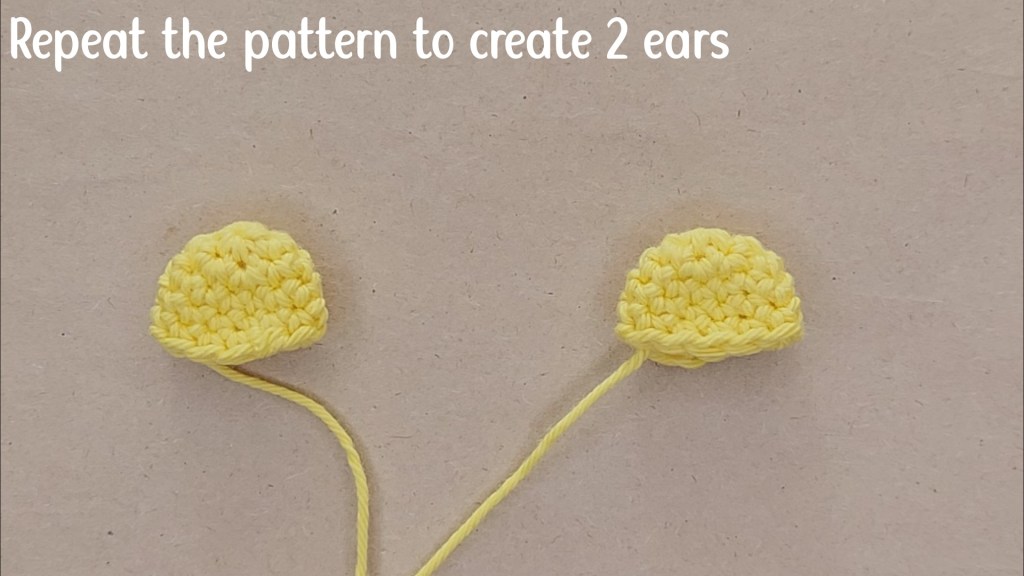
- Ears
Round 1: MR, 6sc in MR (6)
Round 2: *inc* all around (12)
Round 3-5: *sc* all around (12)
Finish off
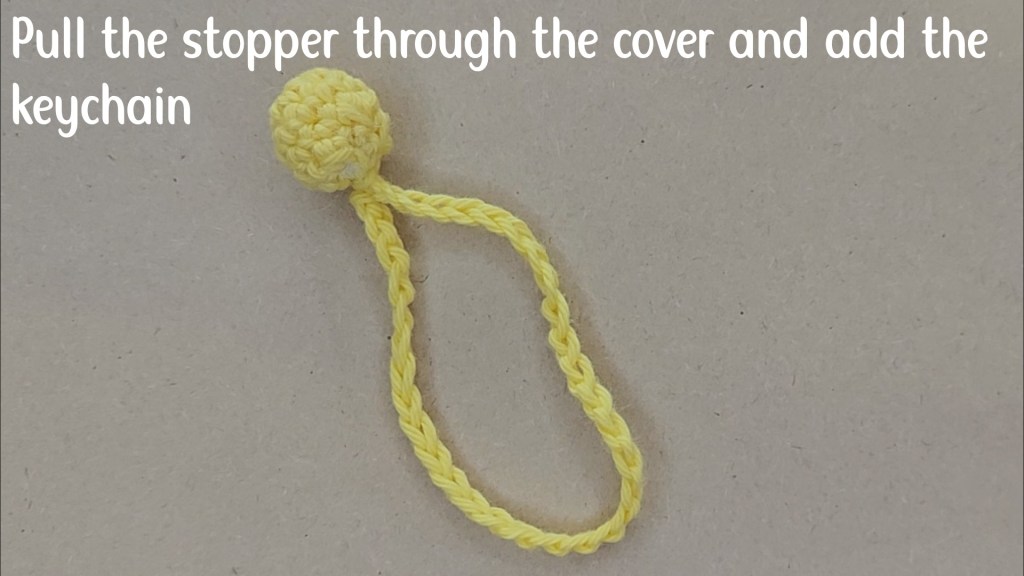
- Stopper + Chain
Round 1: MR, 5sc in MR (5)
Round 2: *inc* all around (10)
Round 3-4: *sc* all around (10)
Add stuffing
Round 5: *dec* all around (5)
Using a needle, close the ball
Ch35 and then connect the end of the chain to the ball using a needle.
Assembly
Stitch the ears to the top of the cover starting from the 2nd row.
To attach the stopper, insert your hook into the cover and through the MR space. Using your hok, pull the stopper through and then add your keychain to it.
Aaaaand it’s done!
If you enjoyed this pattern, let me know in the comments below, and make sure to share your creations on Instagram @MoreThanKnots.
A tutorial is also available on my YouTube channel!
