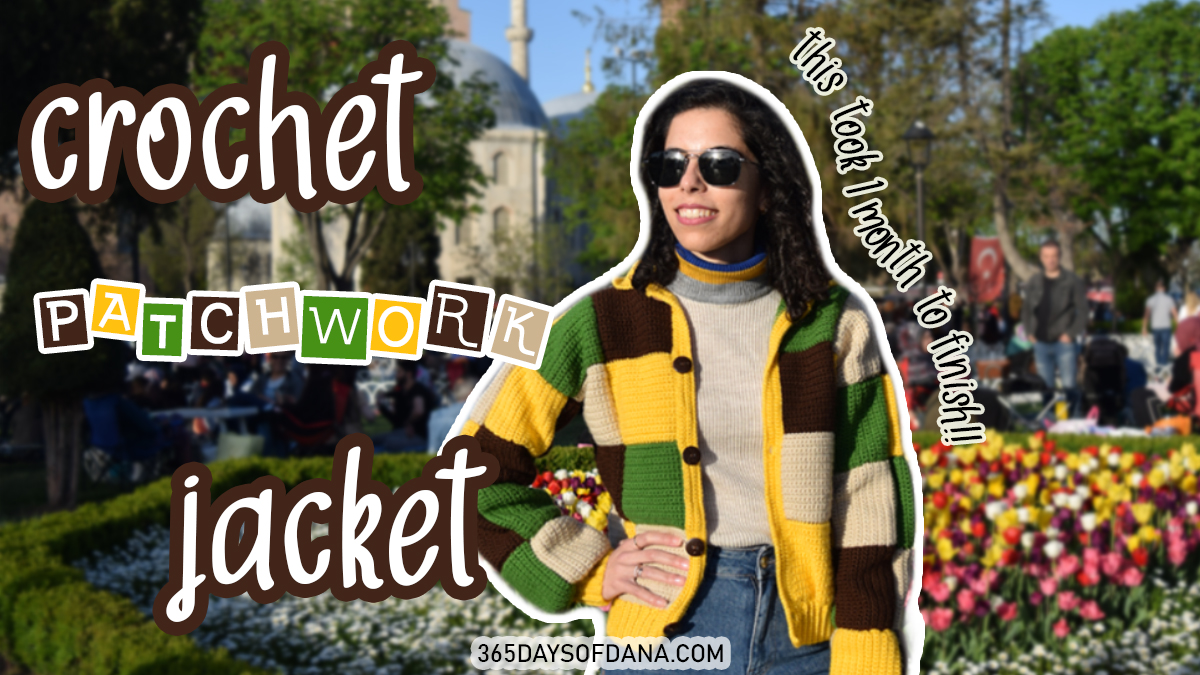
I have been wanting to crochet a jacket since FOREVER. I knew it would be a big projcet to go into, but I definitely was not expecting it to take as much time as it did. So if you are planning on making one, get ready for a long but enjoyable ride!
I am convinced that making the square patches is that longest part that takes to finish; especially that I went for single crochet patches for this jacket which made it even more time consuming. Once those patches are done it’s smooth sailing from there.
Material
- Yarn in 4 colors (100g acrylic yarn ~400-600m depending on the color)
- 5mm crochet hook
- Button x5
- Darning needle
- Scissors
Stitches Used
- Slip knot
- Chain (ch)
- Single crochet (sc)
- Slip stitch (sl st)
- BLO – Back Loop Only
- FLO – Front Loop Only
- * * – repeaat the sequence
Notes
- The number at the end of each row in () indicates the number of total stitches.
- Chain 1 when going from one row to another.
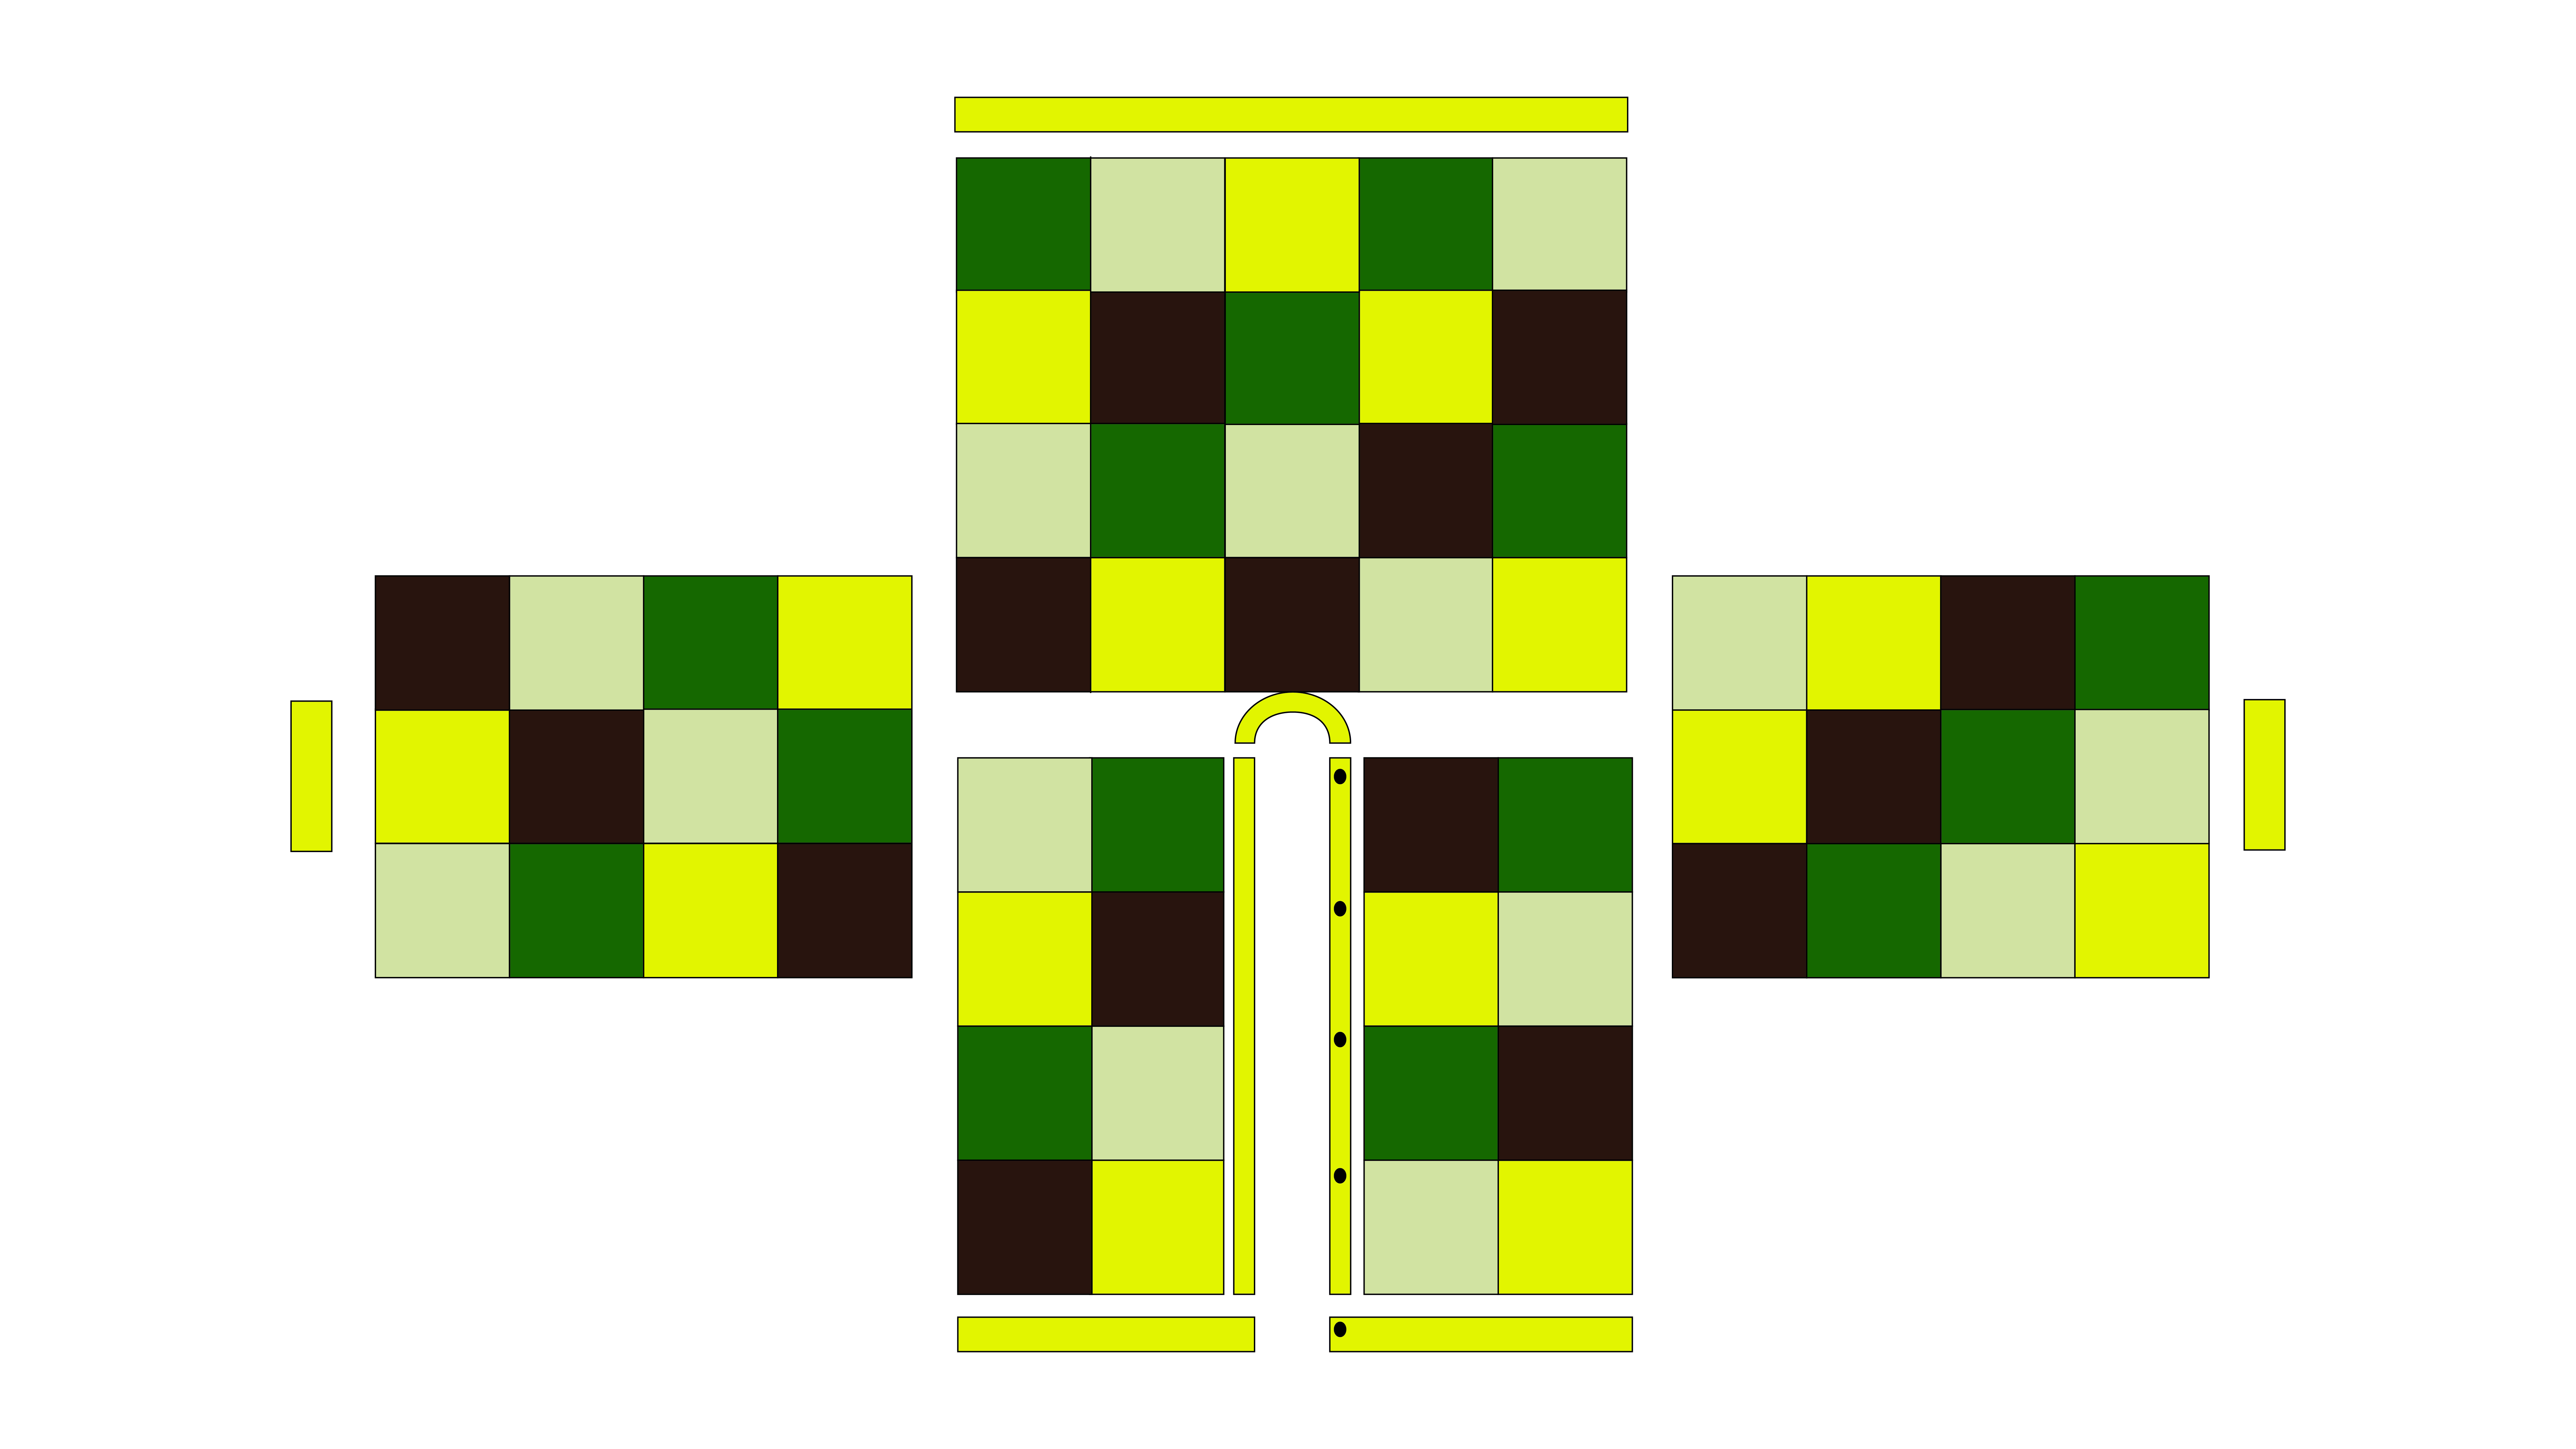
Design
The jacket is made up the following parts:
- Back panel (20 squares)
- Front panels x2 (8 squares per panel)
- Sleeves x2 (12 squares per sleeve)
- Collar
- Cuffs
- Bottom Ribbing

Measurements
The below pattern matches my personal measurement (I wear usually wear size XS/S). However you can definitely adjust it if you want. You can either increase the size of the patches (example: from 5″x5″ to 5.5″x5.5″), or you can add patches to the back panel, front pants, or sleeves.
Pattern
Squares (5″x5″)
R1: slip knot, ch20 (until you reach 5″ or the size you want), ch1, sc in the 2nd chain away from the hook, *sc* across (20), ch1 and turn your work around.
R2: *sc* across (20)
R3-22: *sc* across (20)
Finish off and weave in loose ends.
When you reach row 22, the length of the square shoul be 5″.

Cuffs
R1: slip knot, ch13, *sc* across (12)
R2-28: *sc* in the BLO (12)
Finish off and leave a long tail to stitch it closed to have it form a cricle around your wrist.
You can remove/add rows to have it match the measurement of your wrist.
Bottom Ribbing
R1: slip knot, ch13, *sc* across (12)
R2-144: *sc* in the BLO (12)
Finish off and weave in the end.
Stitching the Jacket
Once you are happy with your layout, flip your design over. Since the stitches you make as you sew are found on the back, you will end up flipping your project inside out when you are done. So make sure if you have a specific layout to flip it over before you start stitching.

Stitching the squares: use your crochet hook. Align the squares together and slip stitch across. Make sure the directions of the square are the same. You can start by stitching columns together and then stitching rows together to make the process easier.
Stitching the front and back panels: at the shoulders, slip stitch each front panel to the back panel from the outside to the inside 30 slip stitch (leaving enough room to add a collar later on). At the sides, slip stitch each front panel to the back panel with a total of 55 slip stitches going from the bottom up; this way you leave space for the sleeves.
Stitching the sleeves: after you are done stitching the squares of the sleeves together, fold the sleeve in half and slip stitch it closed to create the arm hole. When the sleeve is on the inside, stitch it to the front and back panels (30 slip stitches from the shoulder down in each panel).
Stitching the cuff: with the sleeve and cuff inside out, use the darning needle to sew the two pieces together. The sleeve is bigger than the cuff; it starts baggy at the top and then it tightens at the wirst. To achieve this look, you will sew inside the sleeve and then inside the cuff – as you sew you will skip 1 to 2 stitches from the sleeve.
Stitching the bottom ribbing: similar to the cuffs; except the bottom ribbing is connected.
Adding Collar and Button Band
Collar
R1: slip stitch 60 stitches all around the top of the front panels and back panel. You will start at the front panel that would be found on your right if you are wearing the jacket; you will slip stitch 10 stitches and then move on to the back panel and slip stitch 40 stitches, and finally slip stitch 10 stitches in the front panel on the left.
R2: *sc* in the FLO (60)
R3-13: *sc* all around (60)
Finish off and weave in the end.
You can make the collar longer if you wish by single crocheting additional rows.
Botton Band (side with the buttons)
When wearing the jacket, the side of the buttons will be on your right. So, starting with the bottom of the front at the ribbing:
R1: *sl st* across the front panel (100)
R2: *sc* across FLO (100)
R3-5: *sc* across (100)
R6: *sl st* across (100)
Botton Band (side with the button holes)
R1: *sl st* across the front panel (100)
R2: *sc* across FLO (100)
R3: *sc* across (100)
For row 4, the direction of your stitching should be from the bottom to the top. To create equal spacing between the buttons, count the number of stitches. Based on the sizes of the buttons that I had and locations I decided on for the buttons, row 4 was as such:
R4: 6sc, ch3, skip 3, 3sc, [16sc, ch3, skip 3, 3sc]x4 (100)
The ch3 skip 3 is the spacing for the button. You can test it and adjust it based on the size of your buttons.
R5: *sc* across (100) – when reaching the ch3 from R4, sc 3 stitches in the space
R6: *sl st* across (100)
Sew the buttons

If you enjoyed this pattern, let me know in the comments below, and make sure to share your creations on Instagram @MoreThanKnots and on TikTok @365DaysofDana.
A tutorial is also available on my YouTube channel!

Leave a comment