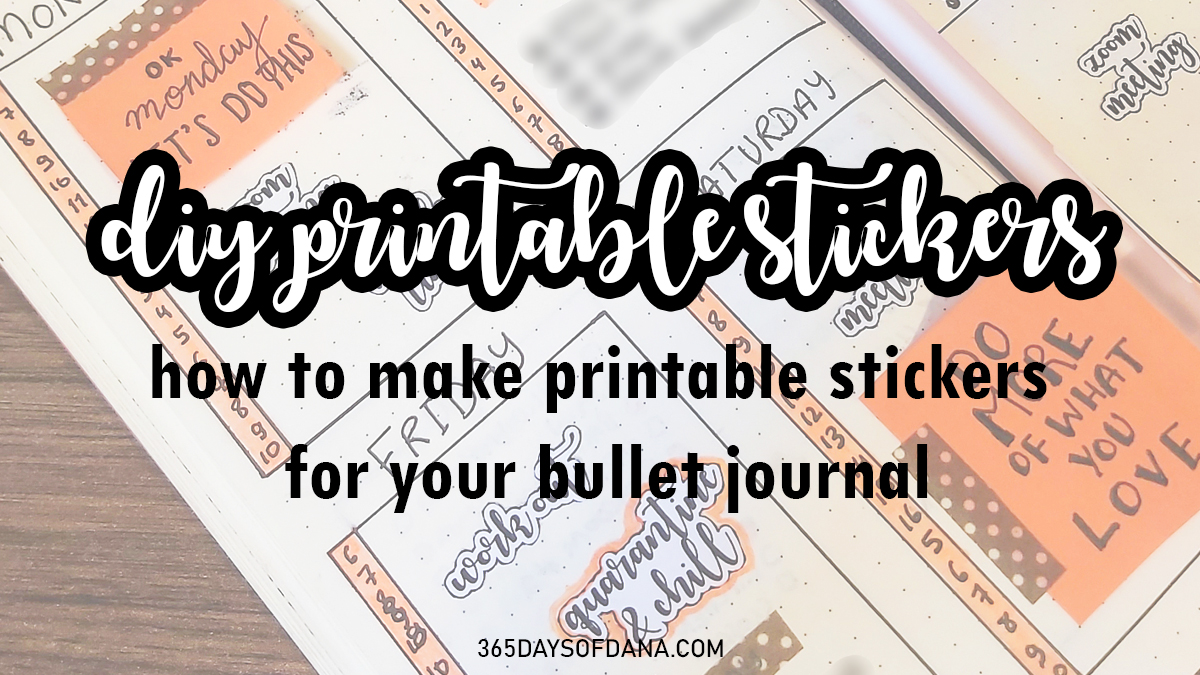
I have been trying to up my journaling game for some time now, and stickers are a GREAT way to do that!!
Stickers are a quick and easy way to add some excitement to your bullet journal! They can also be pretty helpful and time savers; instead of spending a lot of time perfecting your tables and handwriting, just stick one right there, and voilà! It’s done!
Here’s how I creat my stickers:
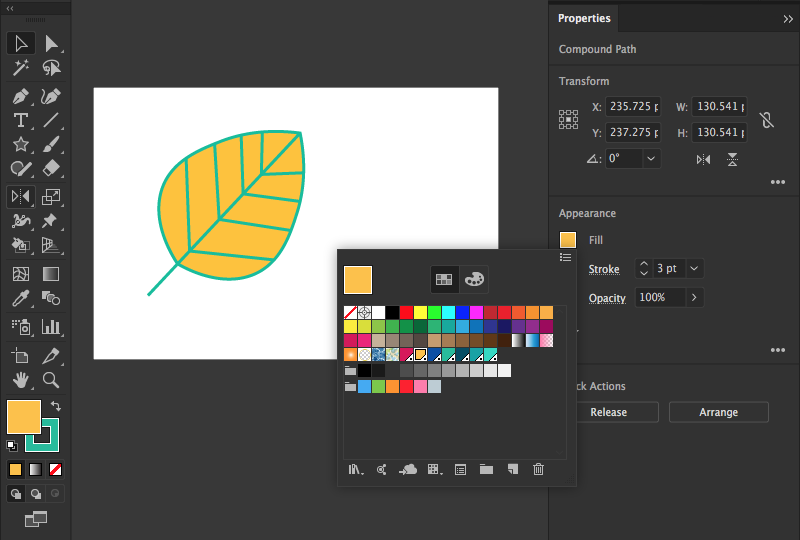
1. Design Your Stickers
I personally use Adobe Illustrator to design my stickers, but some people are comfortable with other softwares. I am pretty sure that some simple designs can be created on Microsoft Word, or even drawn by hand and then scanned! Some people use a drawing pad, but I do not have one of those, so Illustrator will just have to do for now!
2. Add Cut Lines
Cut lines (CutContour) are needed when you are printing using a machine. They are also pretty helpful for when you want to cut by hand but you need a guide as you cut.

3. Save Your File and Print It
It is very important to save your file in the right format. When I add my stickers to my shop, I save them in PDF, PNG, JPG, and EPS. This way, multiple formarts are available for those who need it.
I mosly use the PDF format to print my stickers on white paper (1.6 mm thick) and then cut them by hand. It is just cheaper for me to do so, which makes it easier to print many stickers.
I also use the EPS format for when I want to print them on sticky paper where I can just peel the sticker out directly. This type of printing is more expensive, but works great for selling finished stickers, and you won’t have to spend so much time cutting them by hand.

4. Glue the Stickers to Your Journal
If you’re using sticker paper, just peel the sticker off and stick it in your journal. If you are using normal paper, cut the sticker out and glue it using glue stick or double sided tape.
You officially have a sticker filled journal!
If you enjoy stickers so much, I just added 2 printable sticker batches to my shop! Check them out here!


Leave a comment