Material
- Embroidery Floss Bobbins Template
- Cardboard / thick paper
- Scissors
- Embroidery Floss
- Pen / pencil (optional for those who want to label the bobbins)
- Hole punch (optional)
How To
1. Print out an embroidery floss bobbin template on a piece of cardboard / thick paper
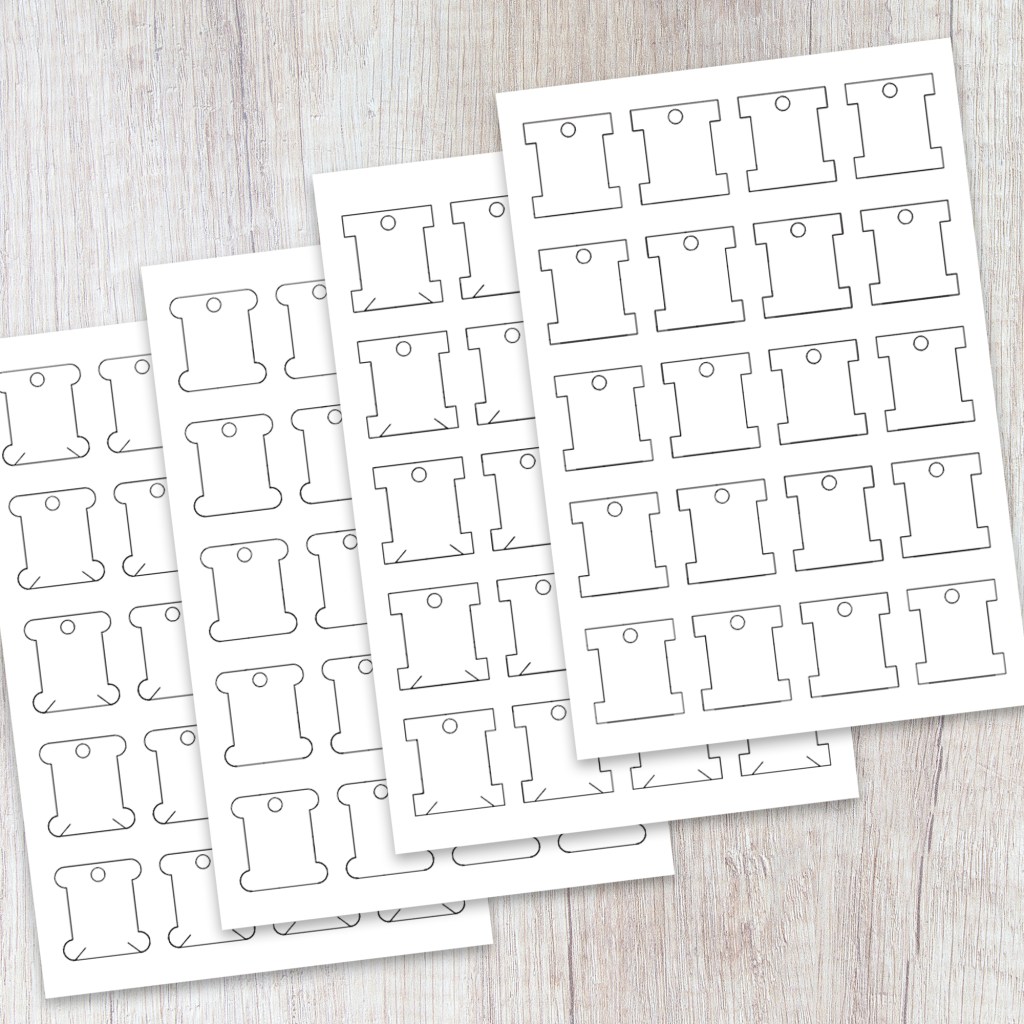
If you are looking for a bobbin’s template, I have one available in my shop, HERE.
You can either go for bobbins with circular edges or sharp edges; with slits to secure the bobbin or without slits.

In my case, I have previously printed a batch, and instead of printing again, I traced a bobbin on an emty cereal box multiple times… It took time, but I wanted to upcycle some cardboard that I had.
2. Cut the Bobbins
Use a scissor or a cutter blade to cut the bobbins. You can also punch a hole in the middle. The hole in the middle is used by some to put the bobbins in a chain. I personally store my floss bobbins in a box, so the hole is not necessary to me.

This is BY FAR the most tidious and longest part of this process. I suggest you do this while watching a good movie or binge watching a series. The end result is definiely worth it though… Hang in there!
3. Prepare the Embroidery Floss & Unwind It
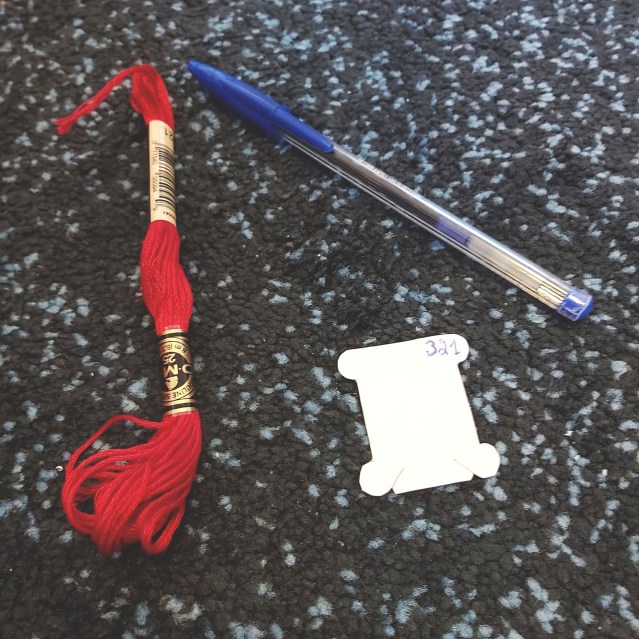
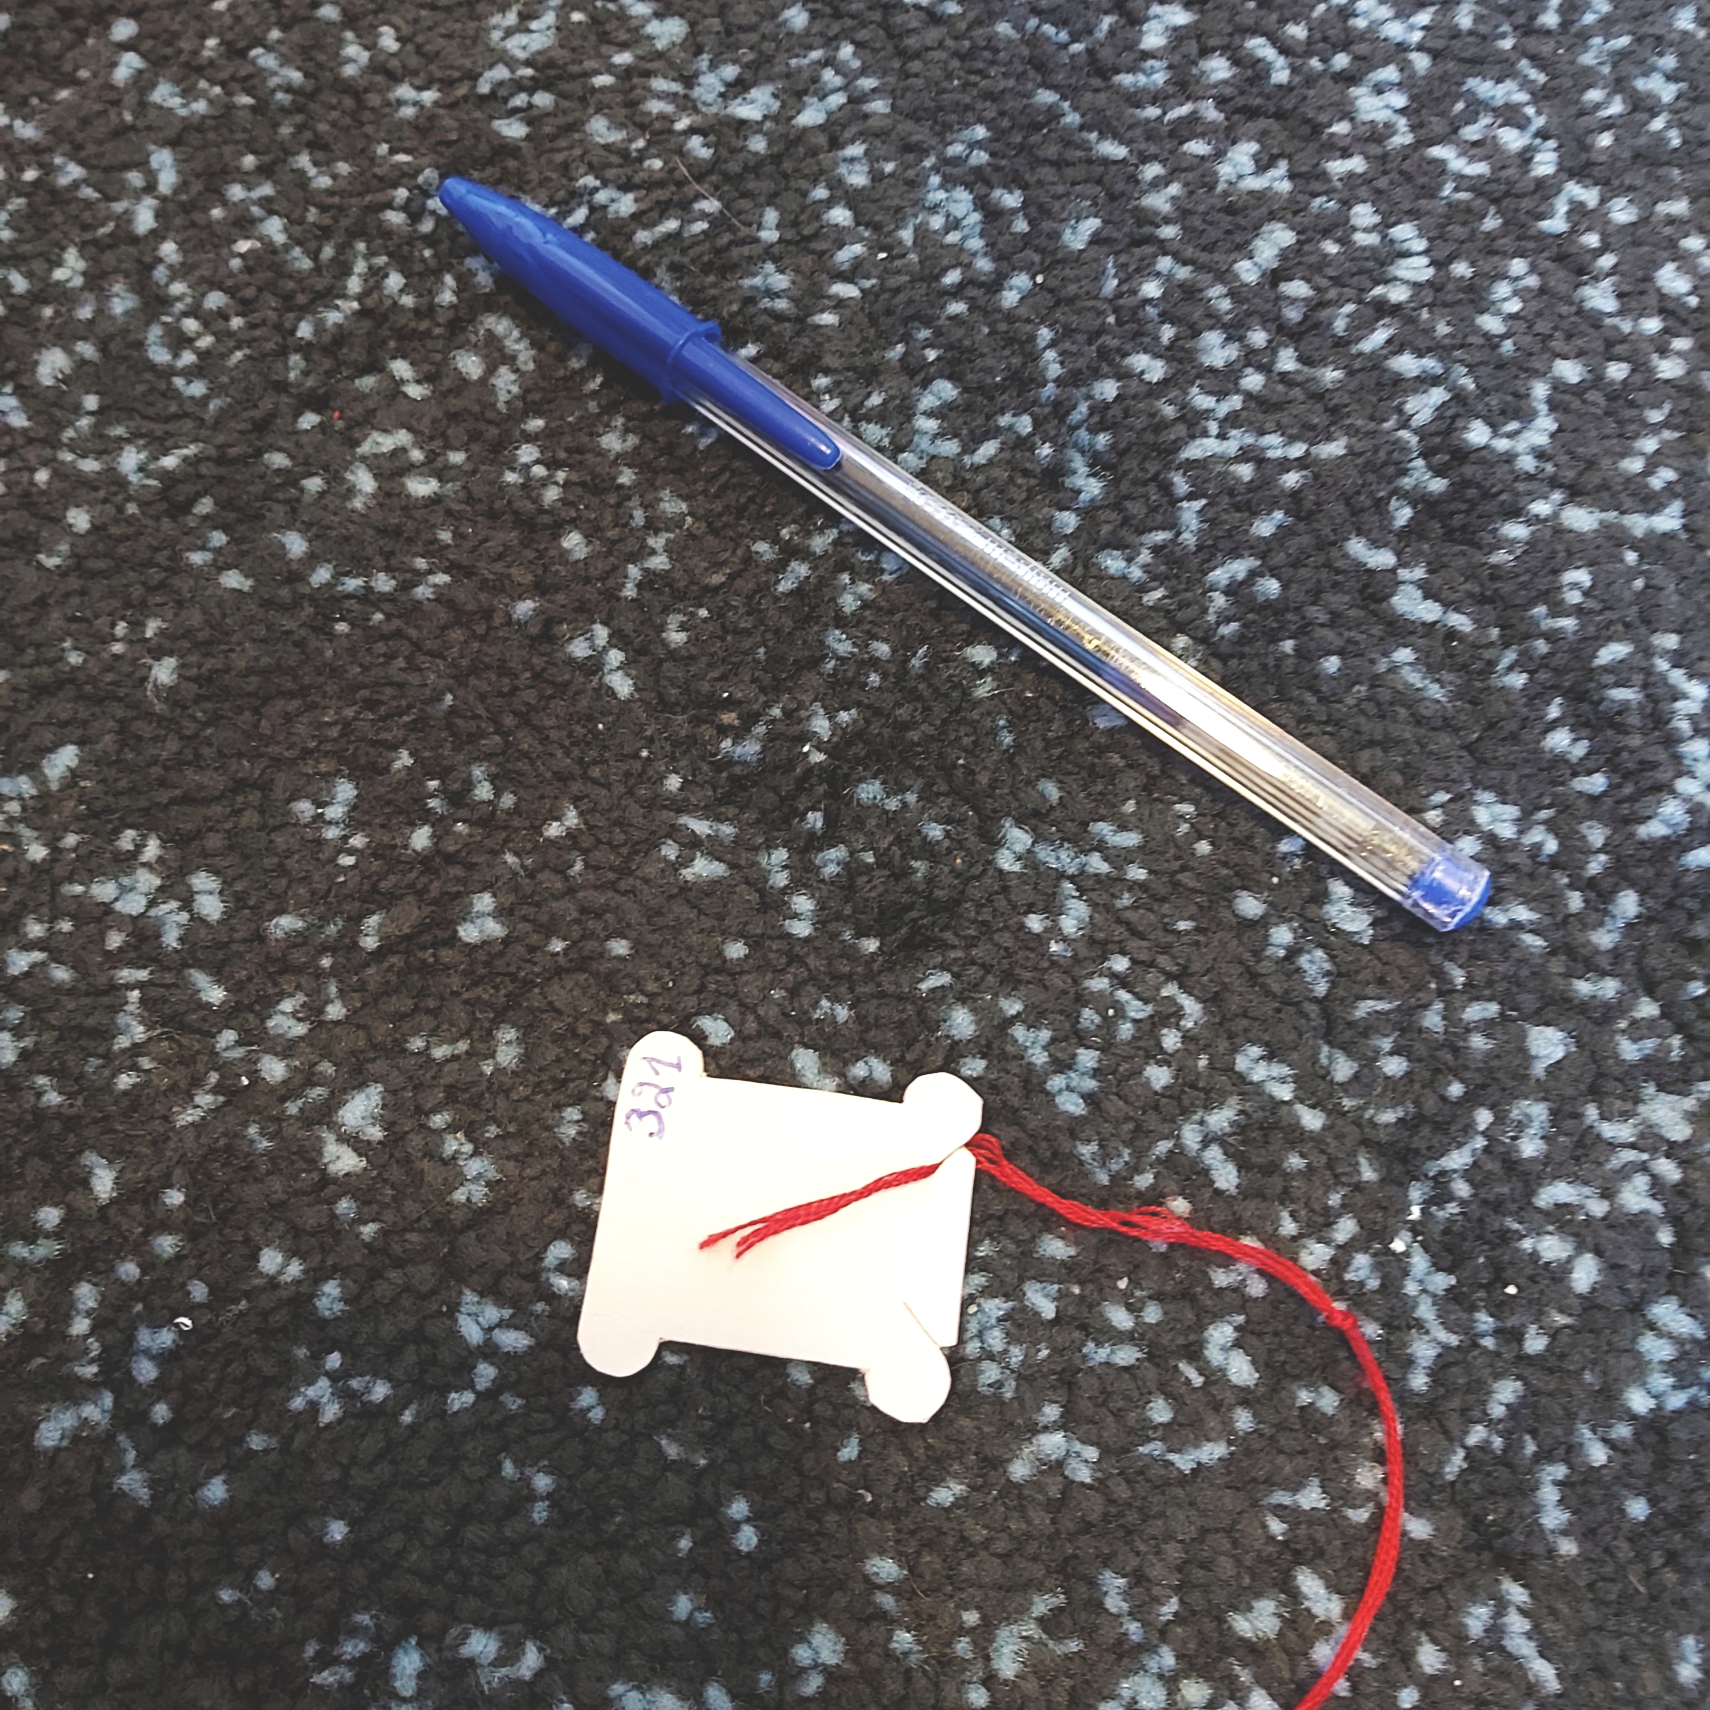
857964 bobbins later, I learned that it is definitely important to unwind the embroidery floss before winding it around the floss bobbin. Unwind it by finding the loose end (see picture above), and pull the whole thing while keeping it inside the wrapping paper tubes as you pull it. Once you pull the whole thing, wind it around the bobbin.
In case it tangled while unwinding it.. may the force be with you… No but seriously, just be patient and try to untangle it as best as you can.
4. Wind the Embroidery Floss on the Bobbin and Label It
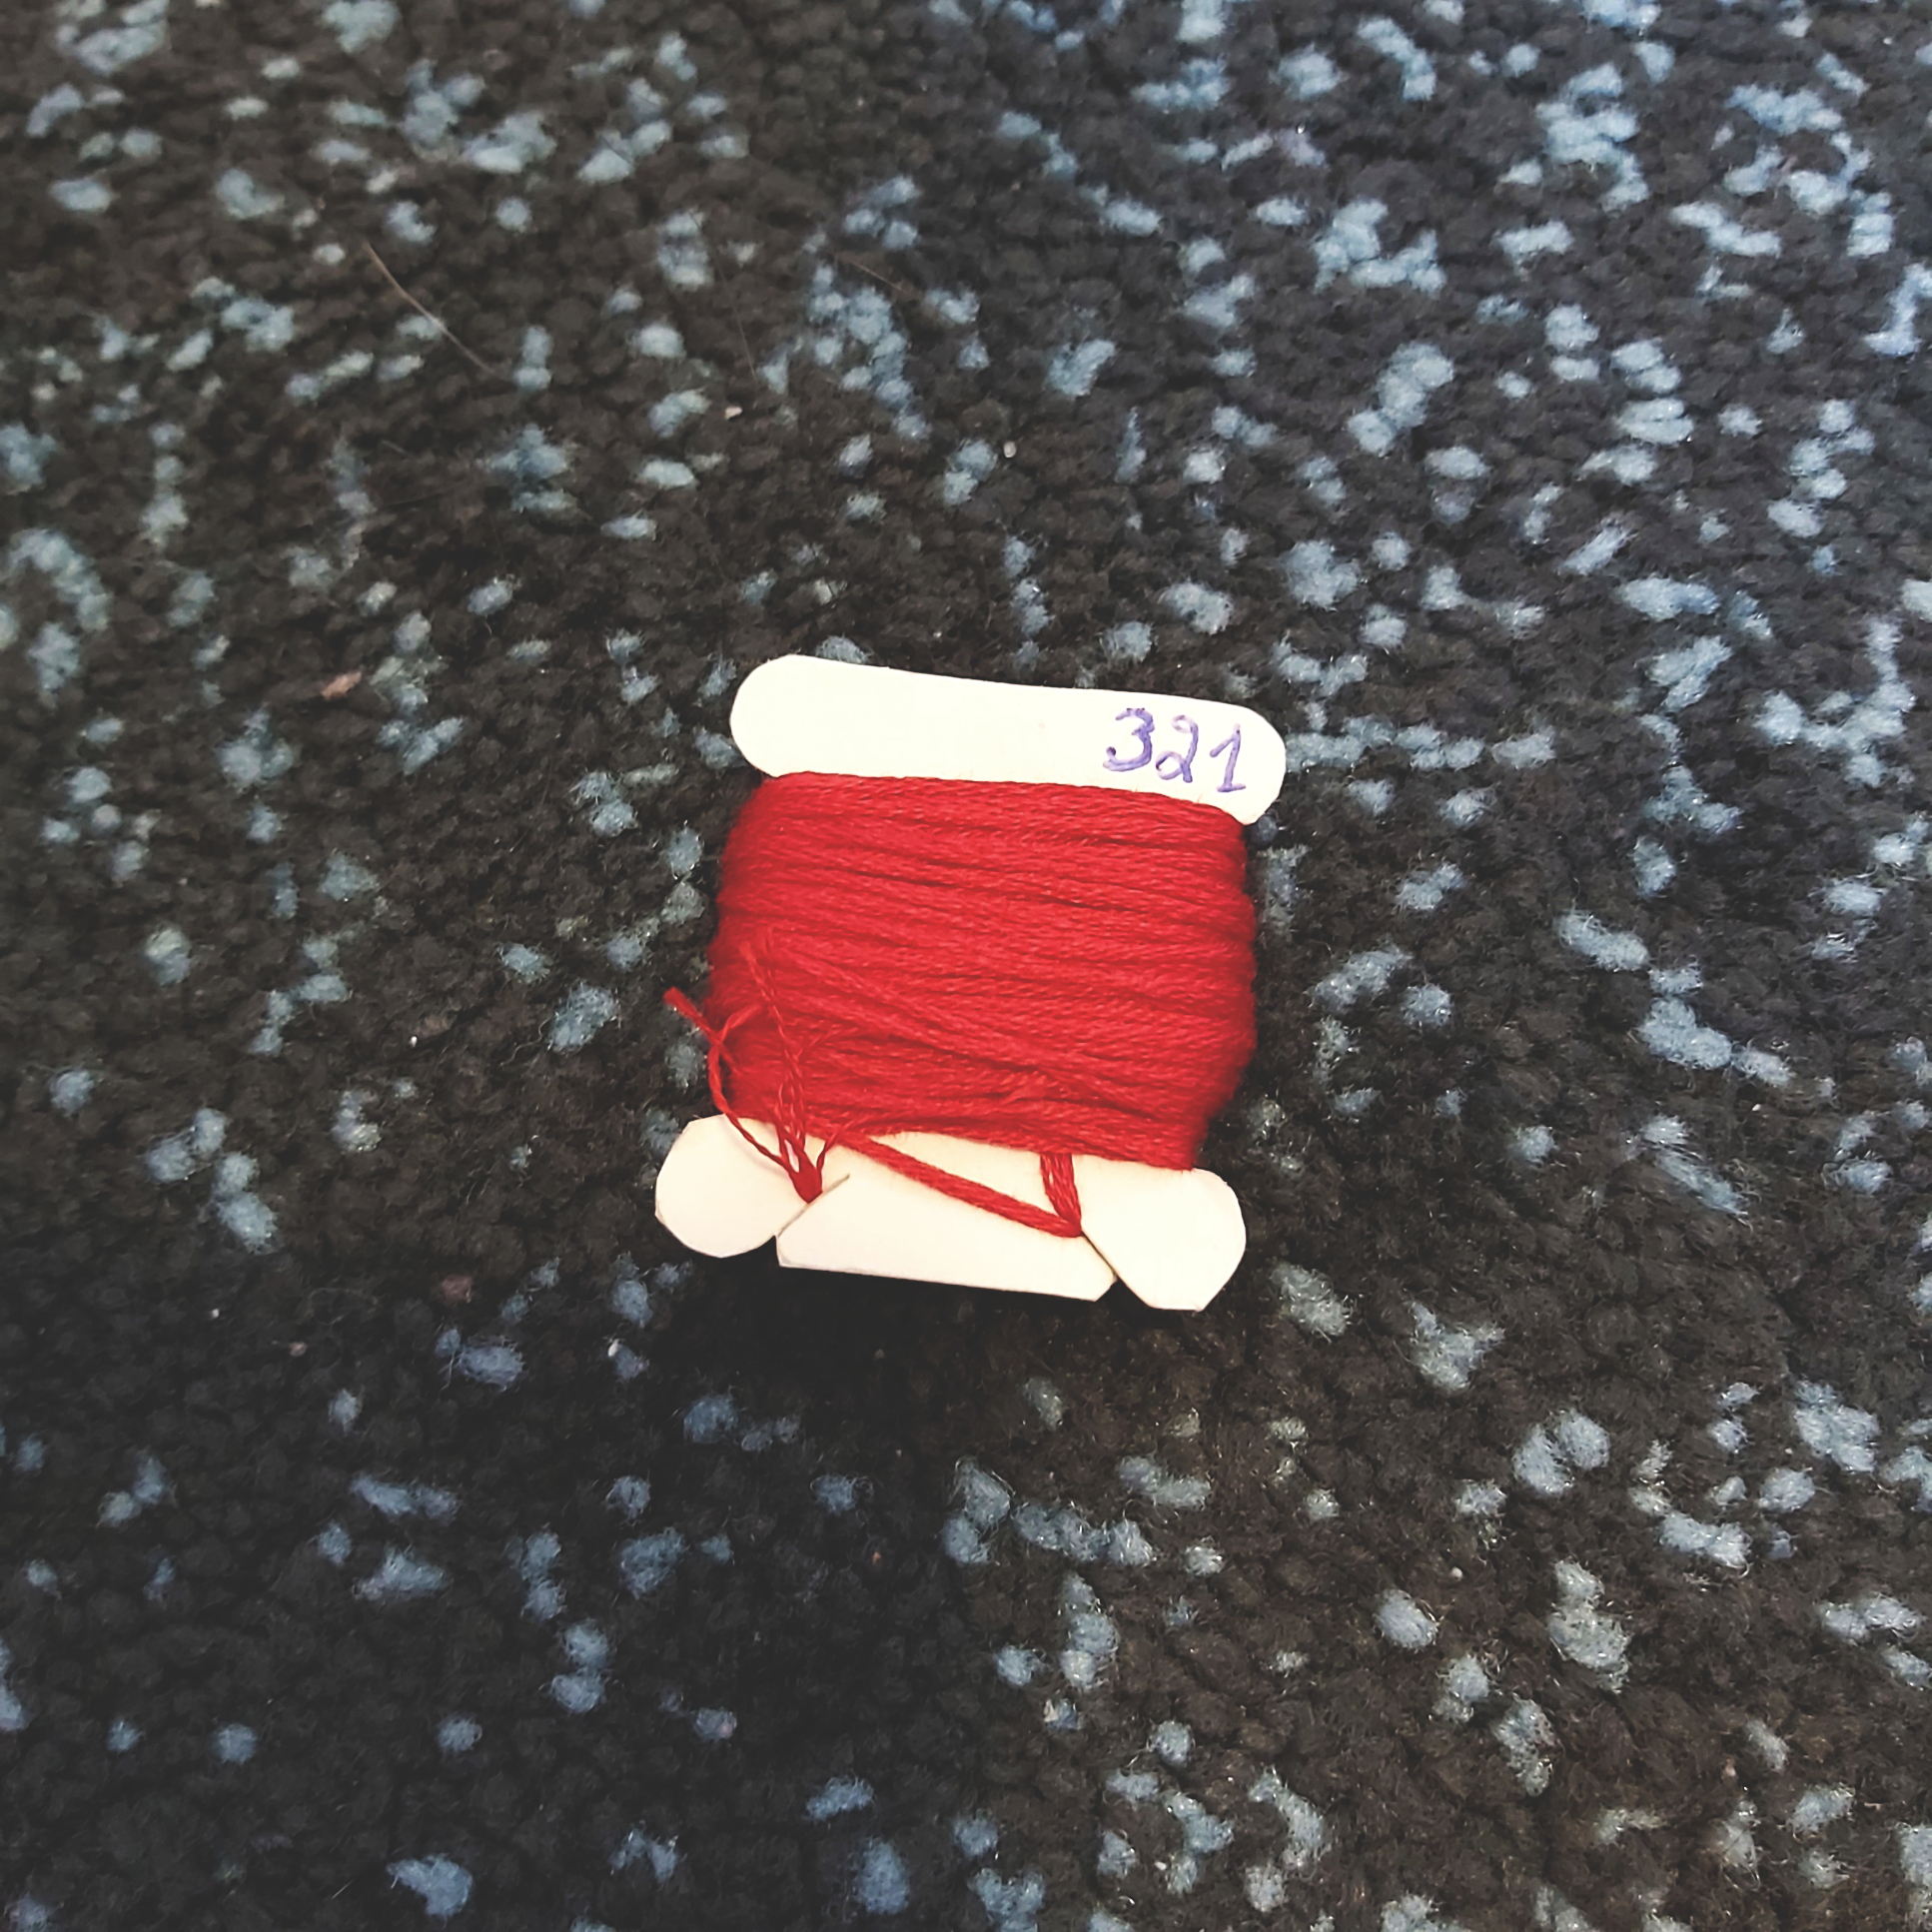
Find one end of the floss and tuck it into one of the angled slits. Wrap the floss around the bobbin and then tuck the second end on one of the angled slits as well.
Since I make the bobbins out of cardboard, I use a pen to label them. If not, you can use the wrapping paper tube with the floss number and stick it to the floss bobbin, or even stickers.
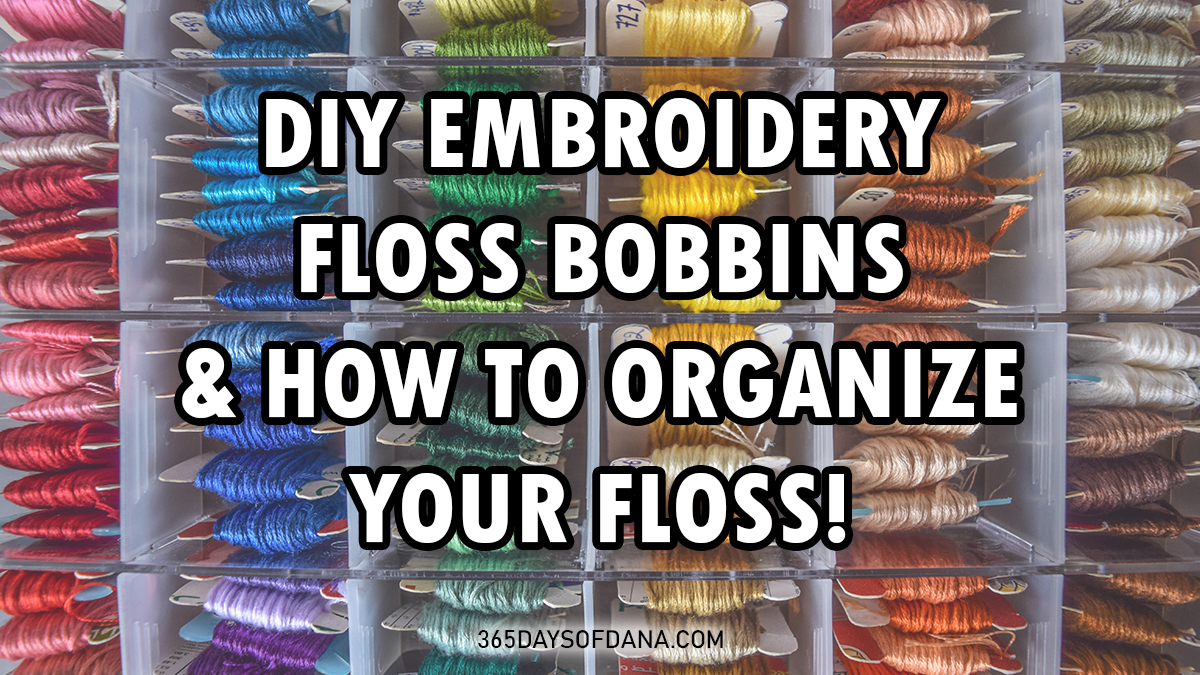
5. Arrange the Embroidery Bobbins in a Box

I am OBSESSED with color shading EVERYTHING in my life. I do it with my book shelf, my closet, and my embroidery floss!
Organizing your embroidery floss will keep all of your floss neat and tidy, and it will make it super easy the next time you want to choose colors for your embroidery project. Plus, the end result looks stunning! Am I right?!
Let me know in the comments below if you end up organizing your floss! and what did you binge watch while doing it?!

Leave a comment